Okta
Configure Okta Integration using SAML
Follow these steps to configure the Okta Integration for your Levo organization. This will allow you to use Okta to login to the platform.
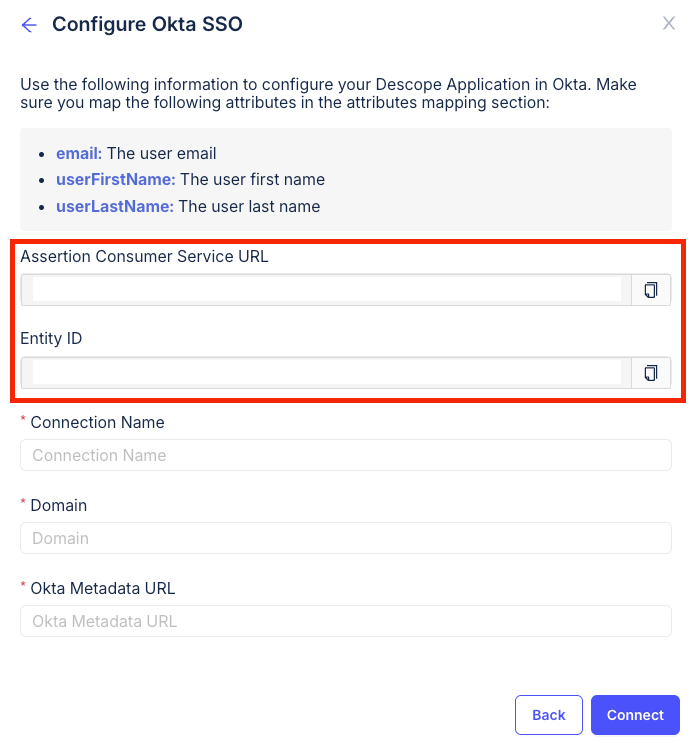
- Navigate to User Settings > Organizations in the Levo Dashboard. Select your organization and navigate to the SSO tab. Click on Configure SSO and then select Okta.
- Copy the Assertion Consumer Service URL (ACS URL) and Entity ID. These will be used during the Okta app creation.

- Navigate to the application creation screen in your Okta admin console.
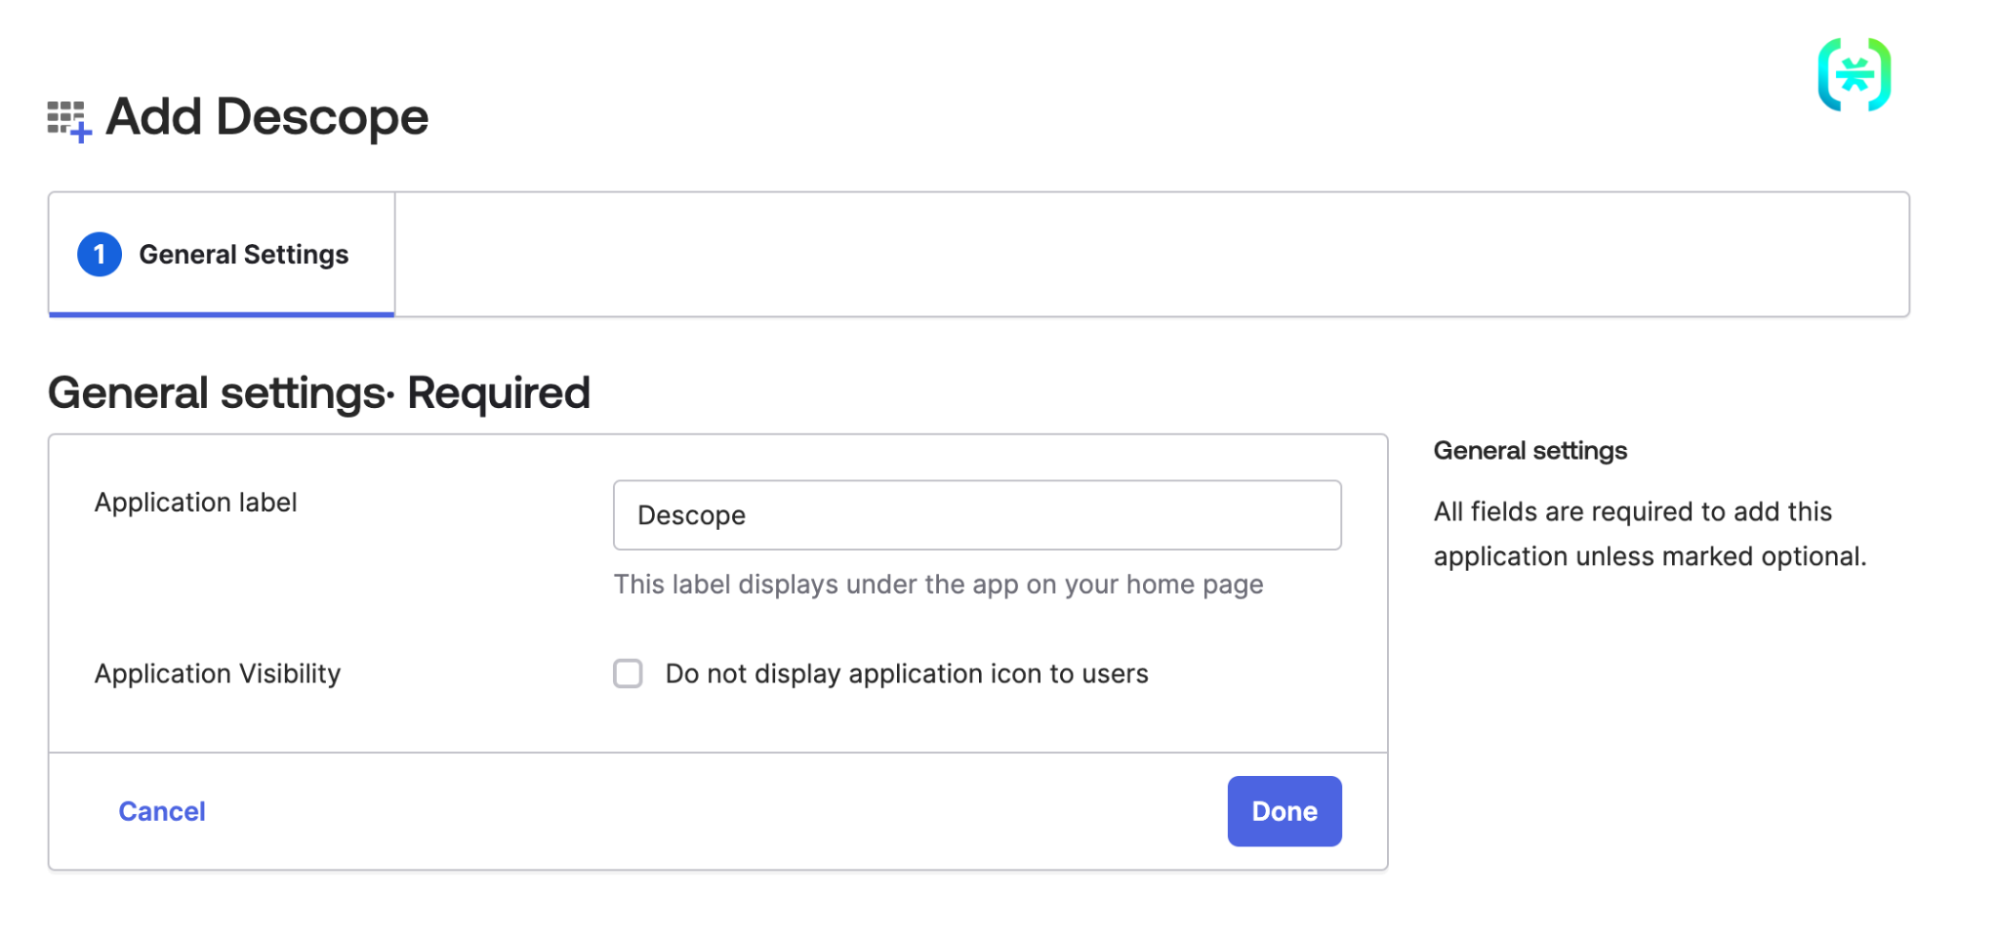
- Add the Descope app from the Okta Integration Marketplace.
- When you first add the integration, set the name as Levo and click Done:

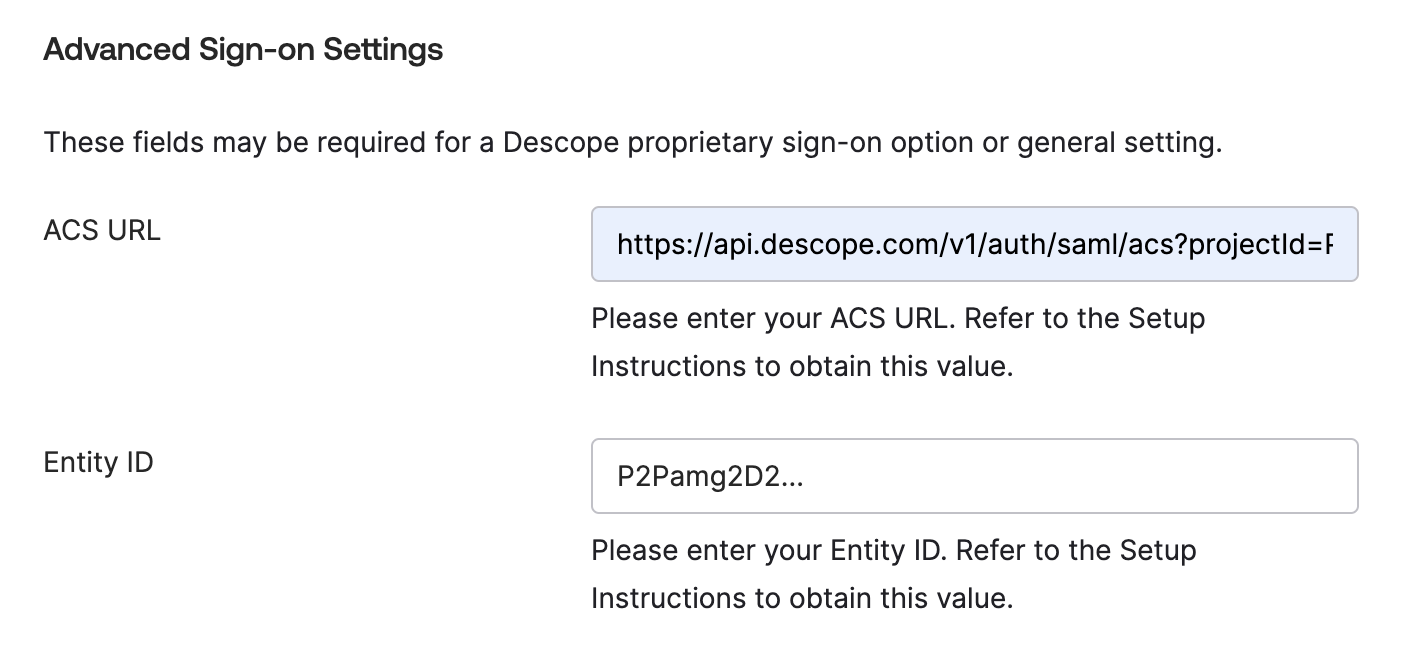
- Under Sign On > Advanced Sign-on Settings, use the values we got in step 2:

- Once you've added the app, expand the attributes field in the SAML section and add the following mapping:

- Under Assignments in the same section, add the relevant User and Group assignments to your new application.
- Go to Sign on methods > SAML 2.0 > Metadata details, to locate and copy your Okta Metadata URL.
- As a last step in the Okta app creation, edit the logo of the application and replace it with the Levo logo so you can identify it in your Okta dashboard.
- Go back to Levo and fill in the details to connect your Okta app:
- Connection Name: An identifier for the connection.
- Domain: Email domain of your organization users.
- Okta Metadata URL: The Metadata URL you copied from Okta.
After that, you should be able to use this custom app to login to Levo using Okta.