Quickstart
Run your first DAST scan in under 5 minutes, using the Levo dashboard. No CLI, no YAML — just a target URL and the defaults.
Prerequisites
- A Levo account. Sign up if you don't have one.
- A target URL you own — a staging or test environment is best.
The default Scan mode sends active payloads (XSS, SQLi, etc.) to your application. Use a staging environment for your first run. See Scanning production safely before pointing DAST at prod.
Steps
Log in and open DAST Scans. Log in to Levo, then go to Scans → DAST Scans.
Verify your domain. Your target URL's domain must match an owned domain on your organization. Add it under Settings → Owned Domains if needed — this is how Levo confirms you're allowed to scan the target.
Click + DAST Scan. The Create DAST Scan dialog opens.
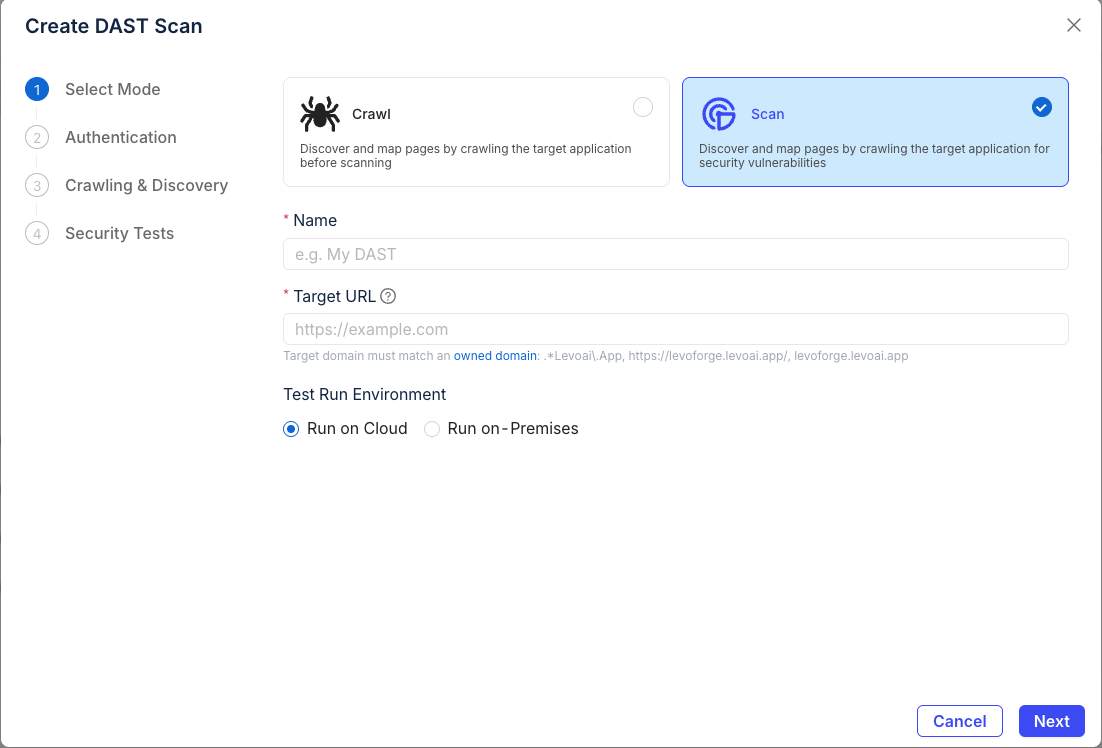
Pick Scan mode (recommended). Give the scan a name, paste your Target URL, and leave Test Run Environment on Run on Cloud. Click Next.
Choose Unauthenticated Scan to keep the quickstart simple. Click Next.
Need login? Jump to the authentication guide once you're through this flow.
Accept the crawling defaults (Standard mode, depth 3, 100 pages). Click Next.
Leave Smart scan depth selected and all default security tests on. Click Create.
Watch the scan run. You'll be redirected to the scan detail page. Passive findings start appearing within seconds; active tests take longer on larger apps.
When the scan finishes, open any finding to see the request/response, severity, and remediation advice.
Next steps
Pick whichever comes first for your app:
- Scanning a login-protected app? Add authentication.
- Ready to run this from your terminal? Scan from the CLI.
- Want this in CI on every PR? CI/CD integration.
- Want to commit your scan config to git?
levo-dast.yml.