Okta
Configure Okta Integration using SAML
Follow these steps to configure the Okta Integration for your Levo organization. This will allow you to use Okta to login to the platform.
- Navigate to User Settings > Organizations in the Levo Dashboard. Select your organization and navigate to the SSO tab. Click on Configure SSO and then select Okta.
- Copy the Assertion Consumer Service URL (ACS URL) and Entity ID. These will be used during the Okta app creation.
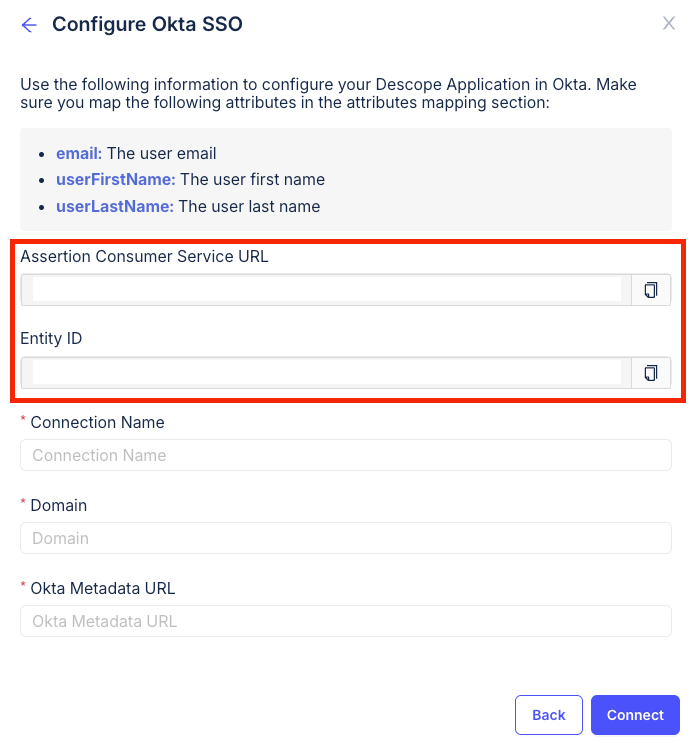
Copy both values after you have entered your Domain in the Levo form. The ACS URL is derived from the domain, so copying it earlier gives you a URL that will not work.
-
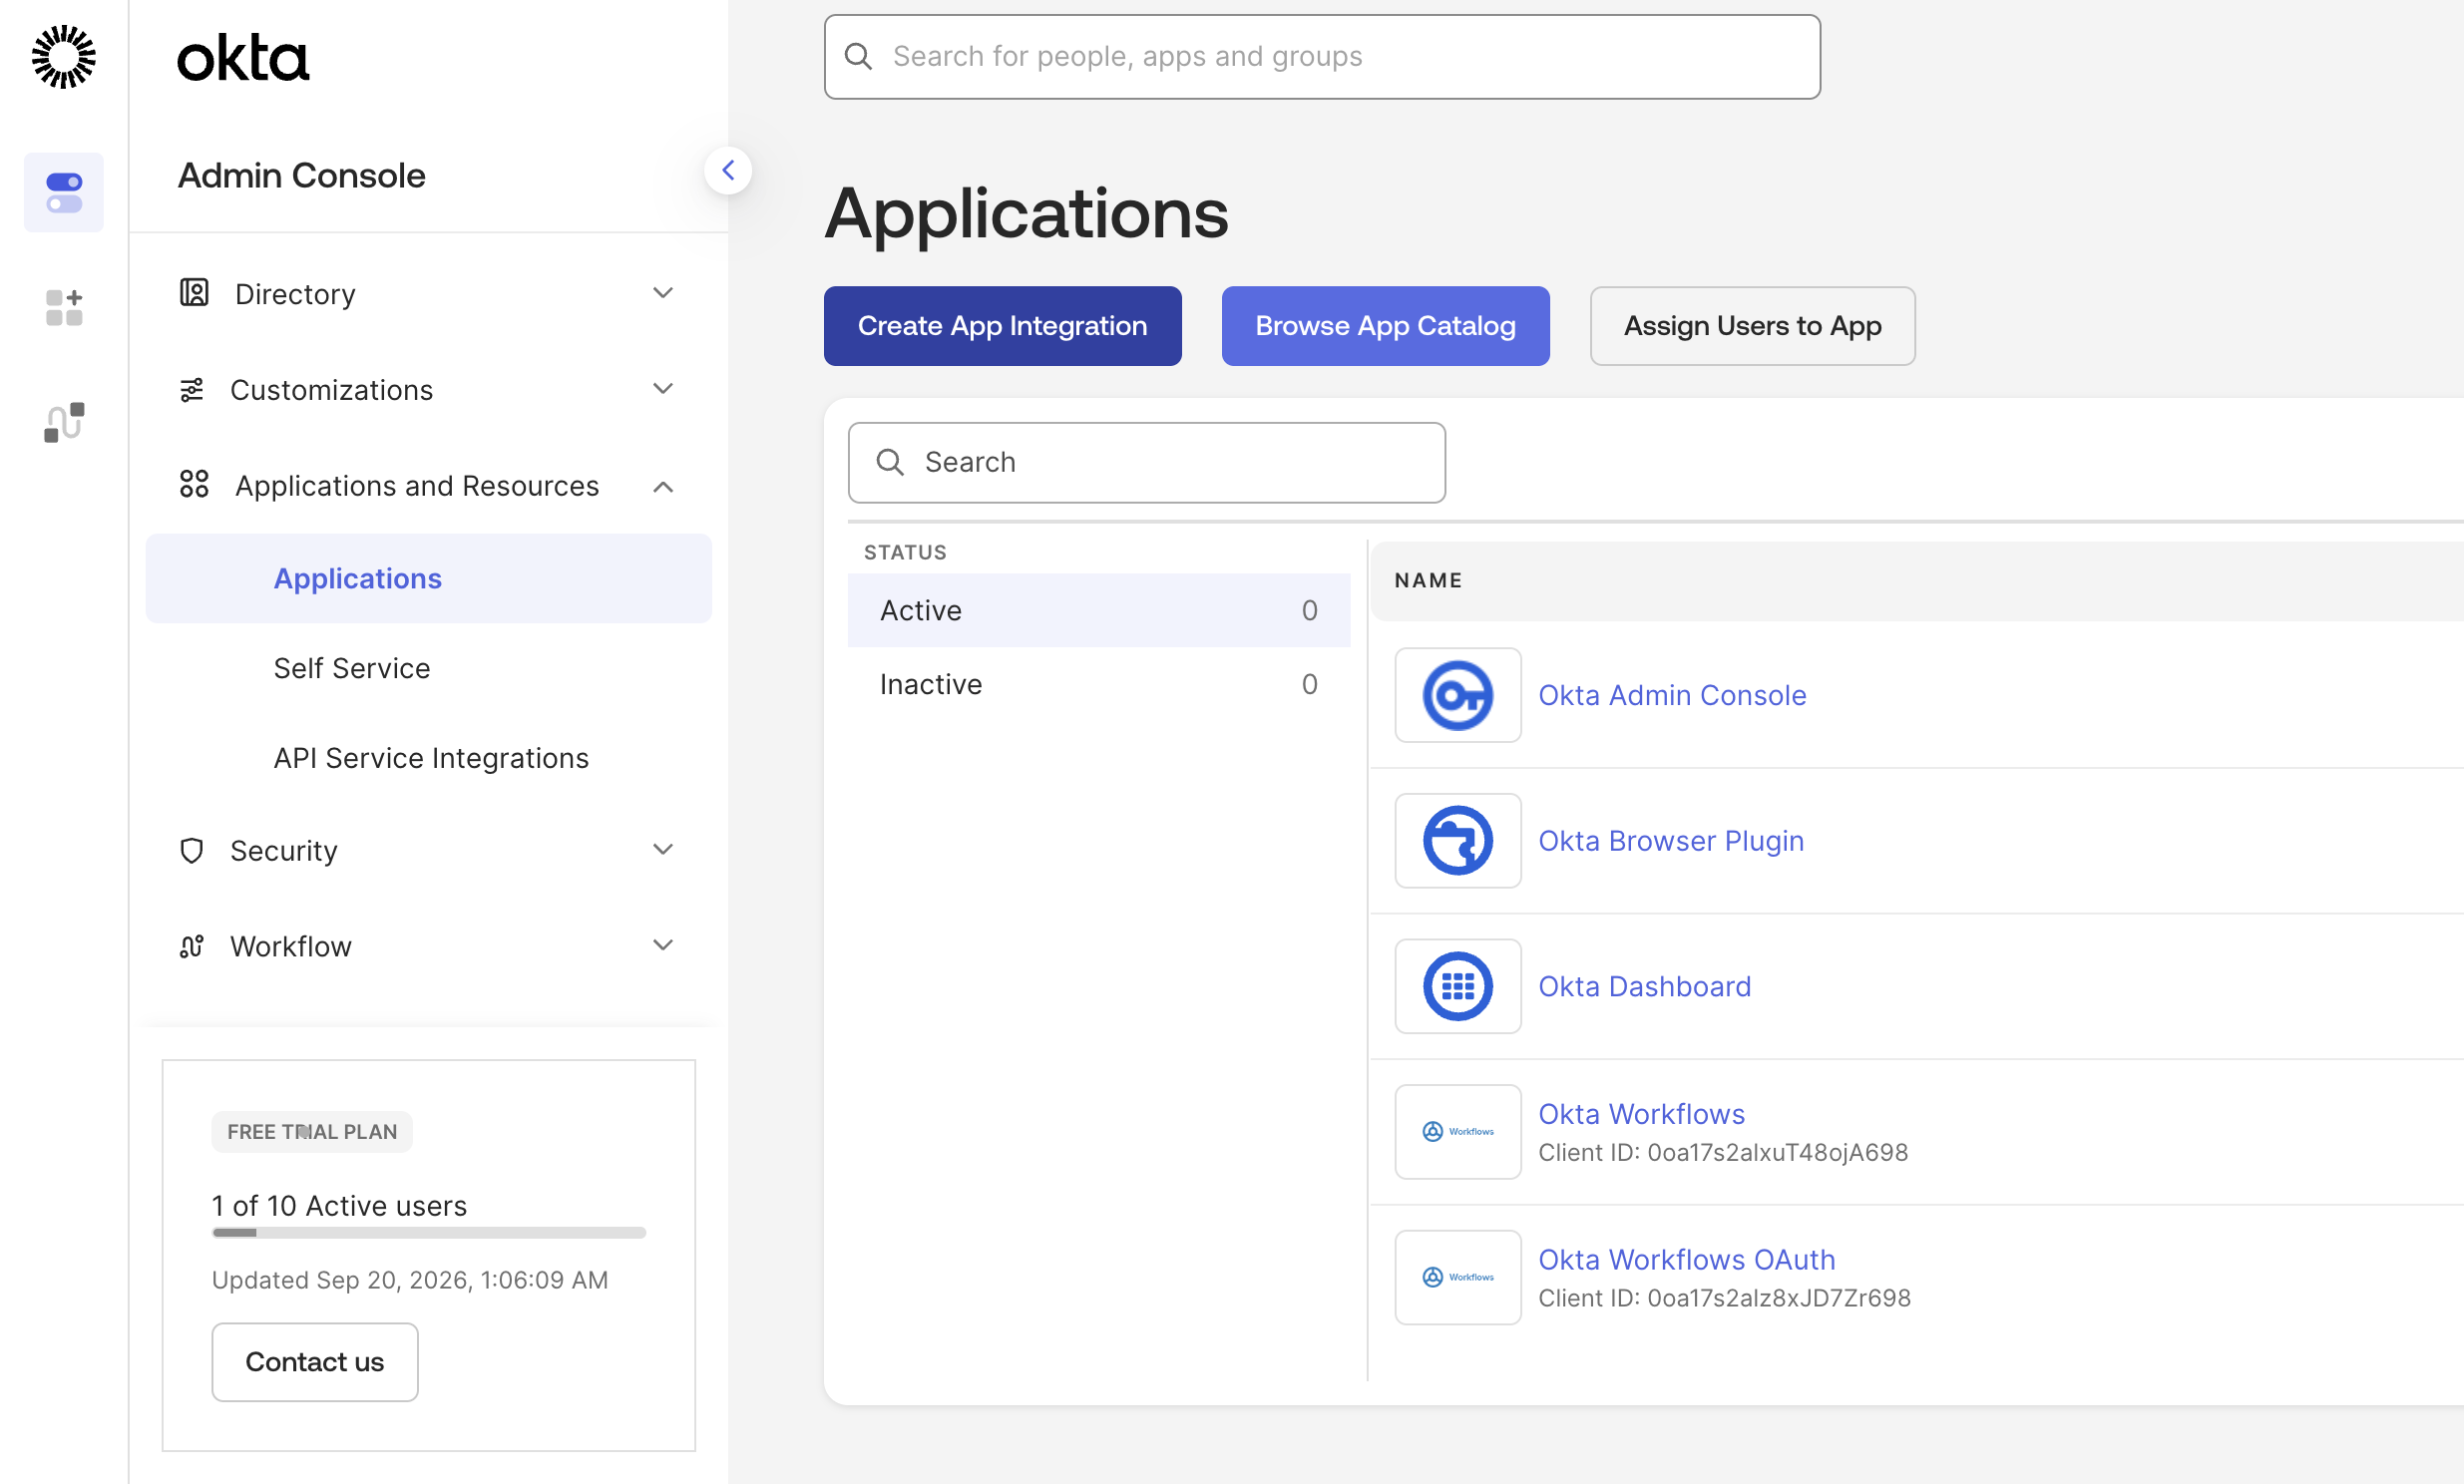
In your Okta admin console, go to Applications > Applications and click Create App Integration.
-
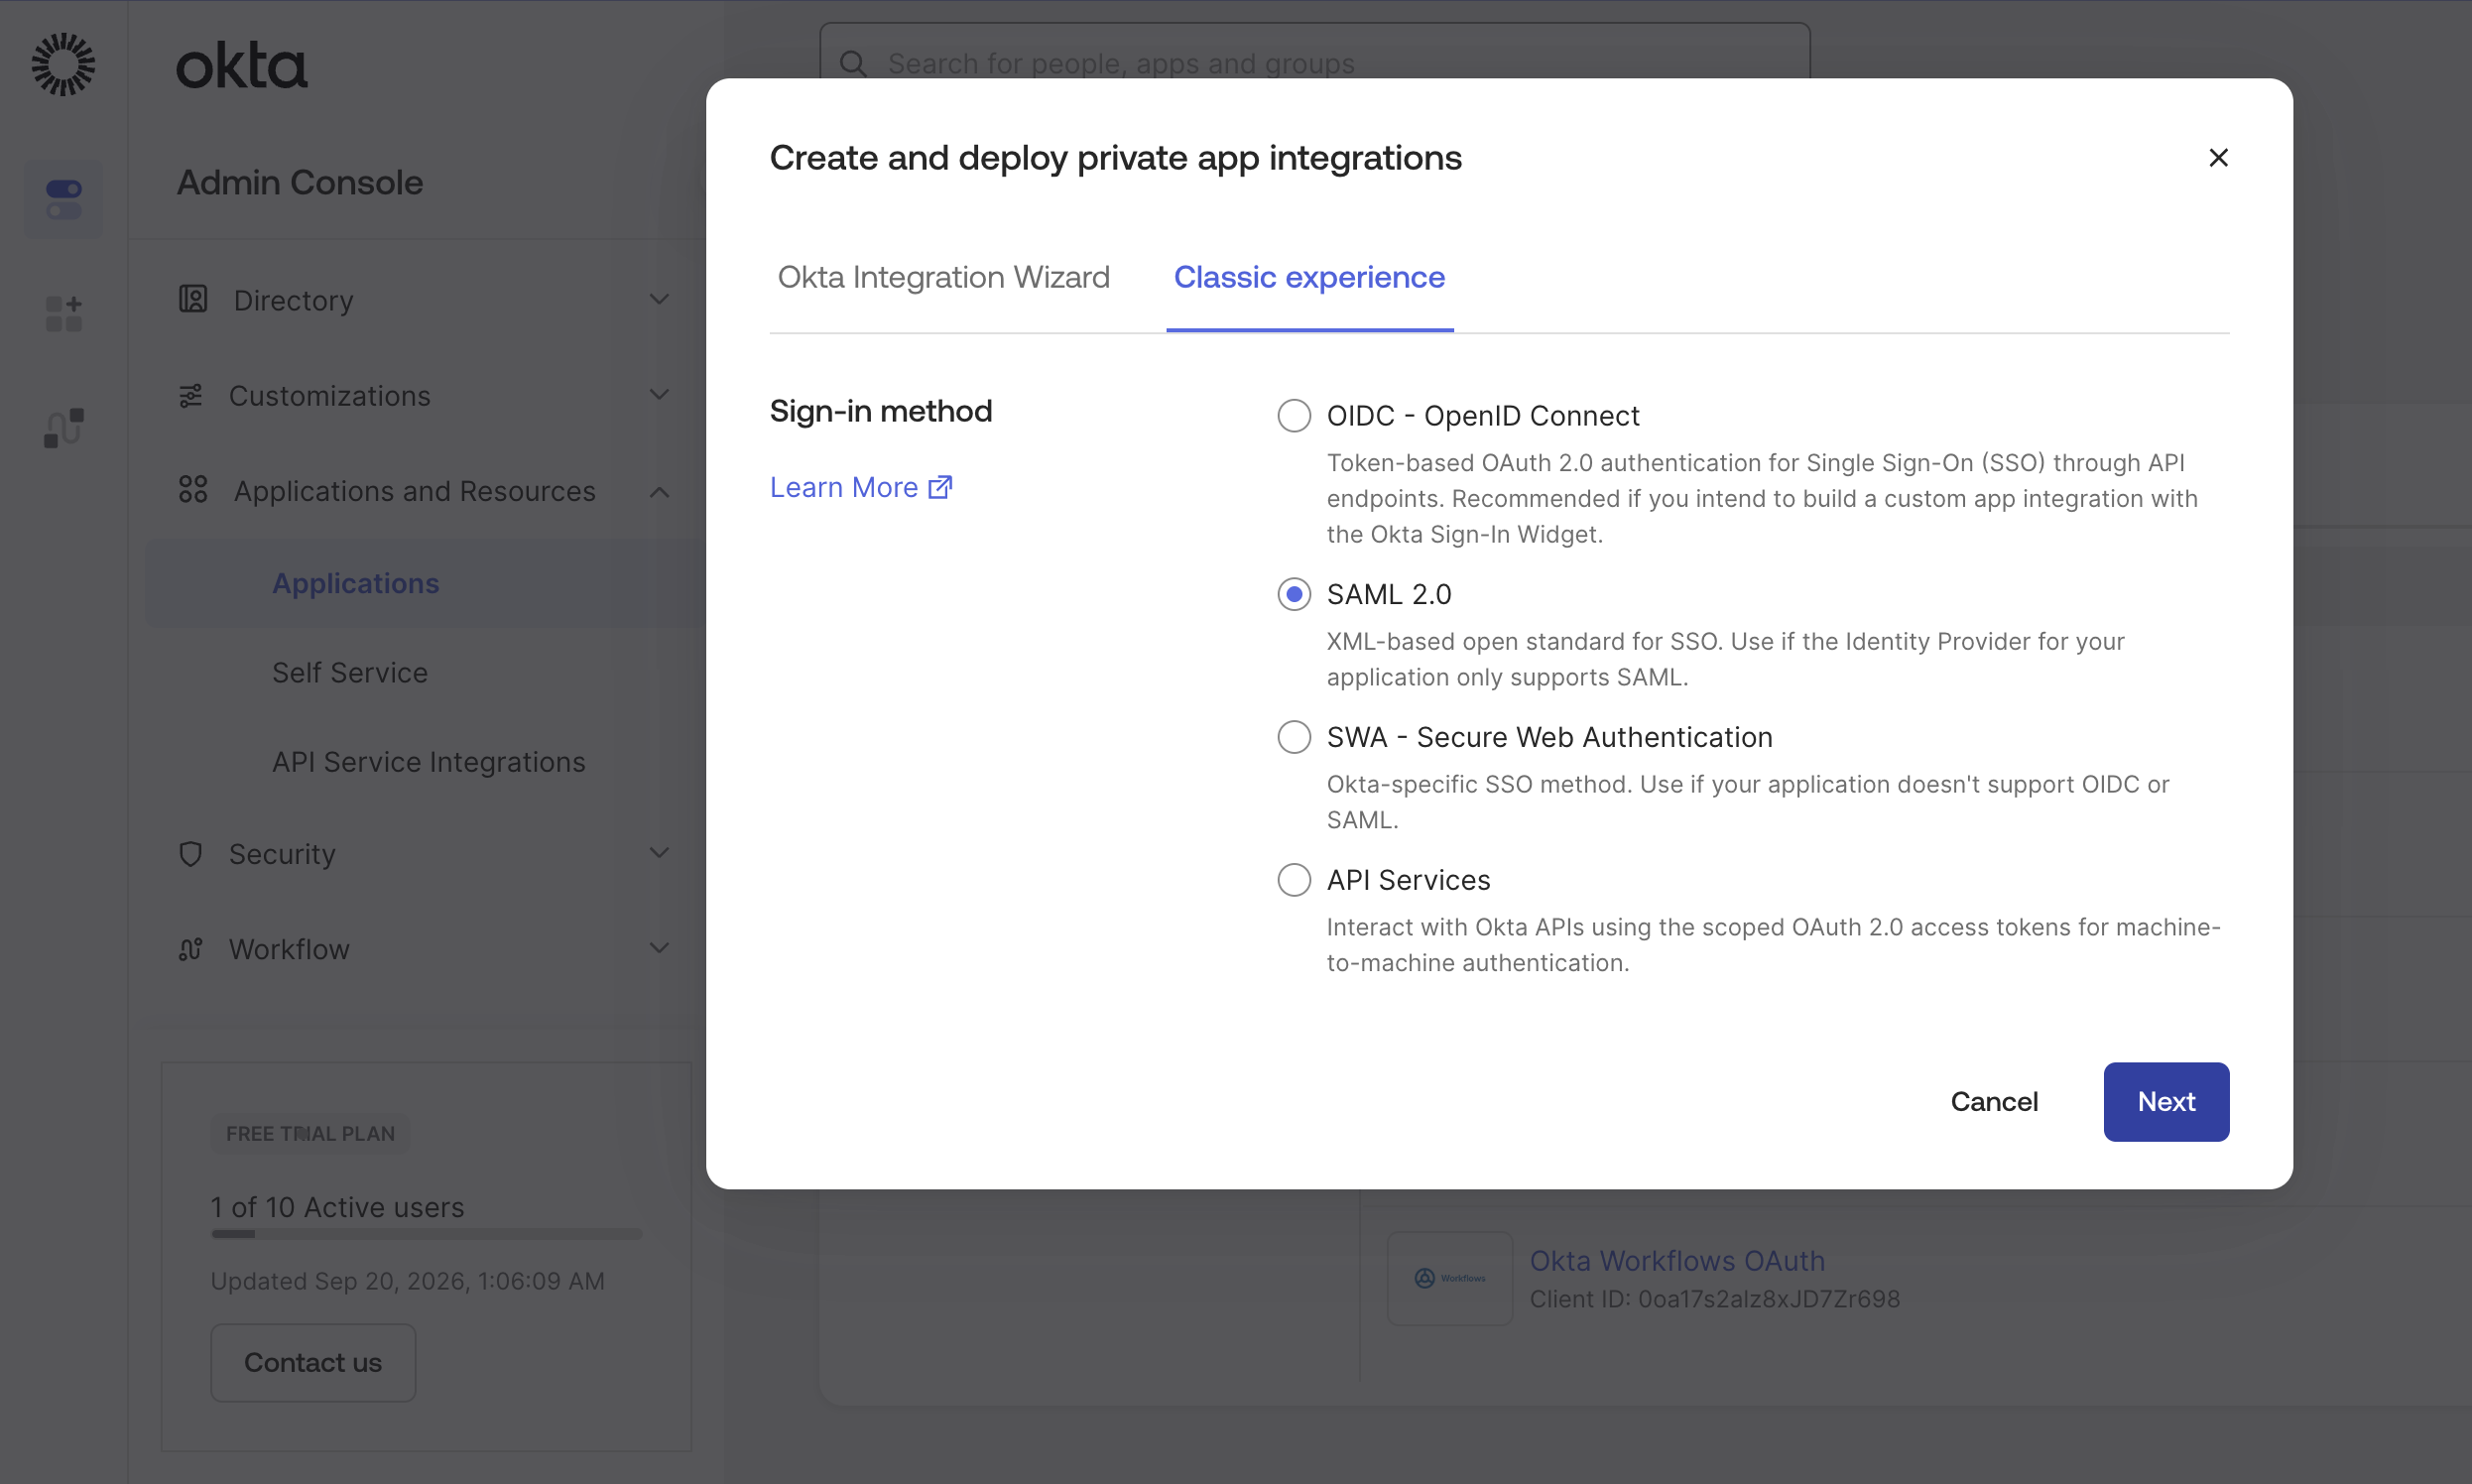
Select SAML 2.0 as the sign-in method and click Next.
-
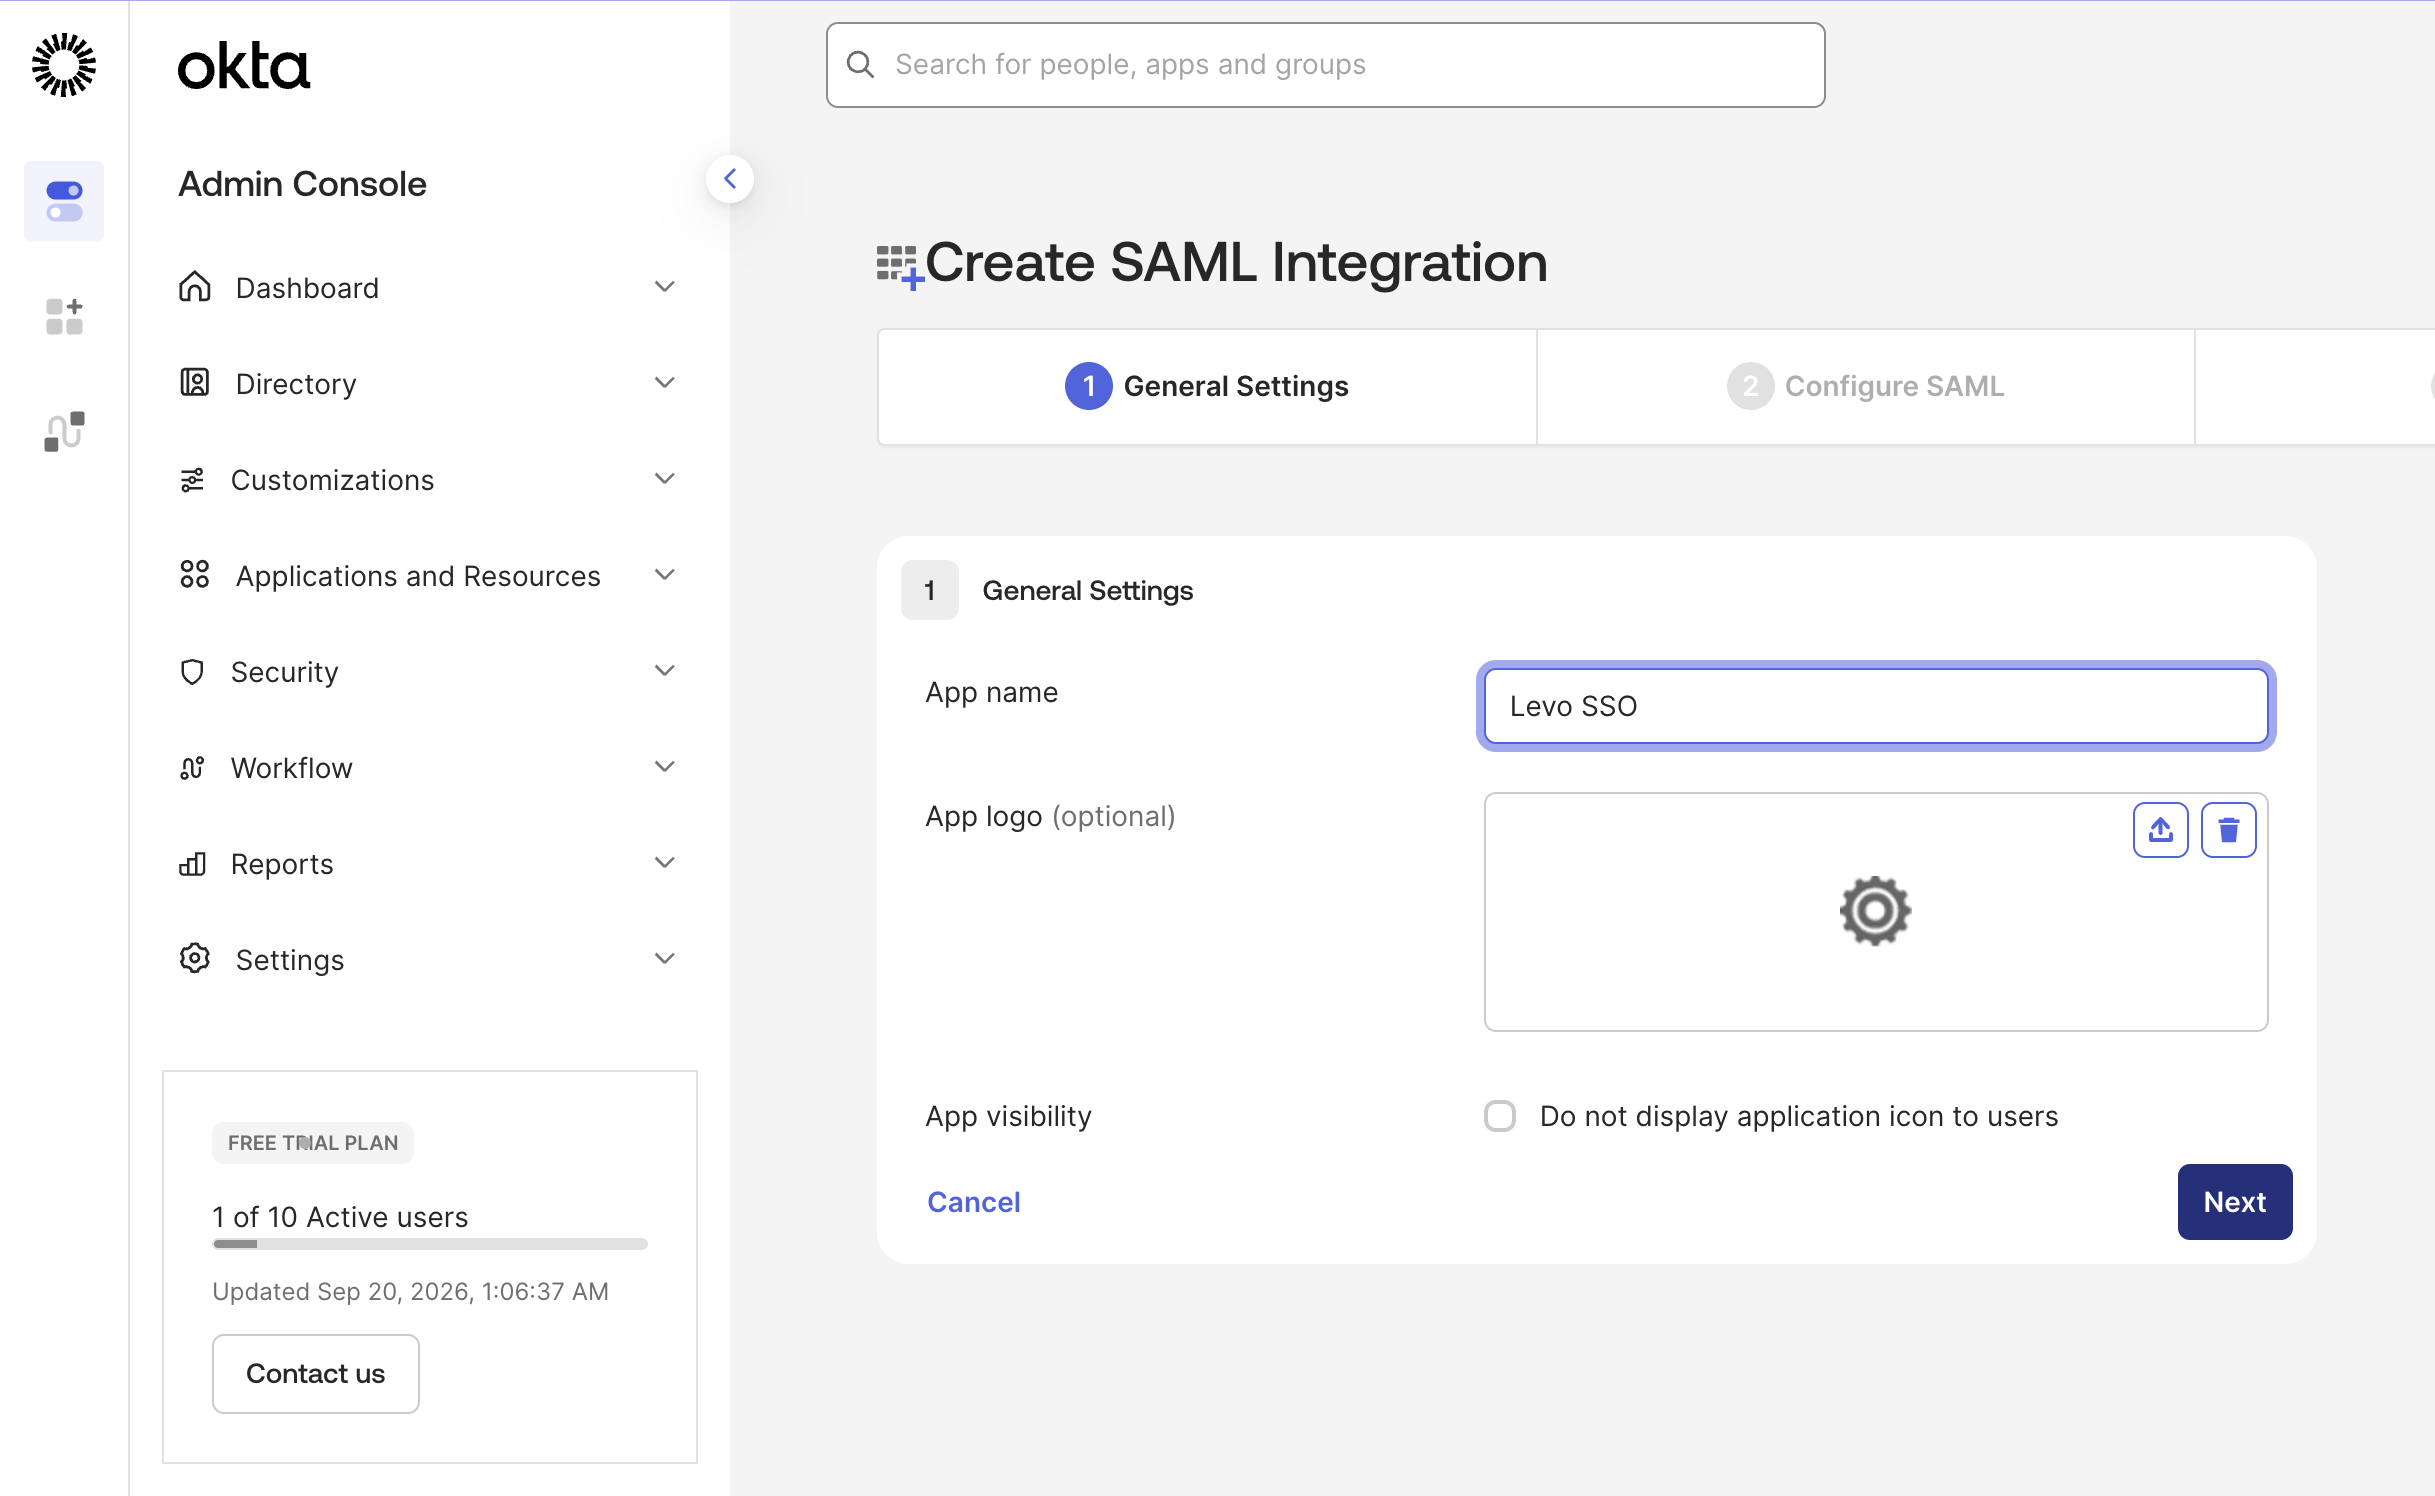
On General Settings, set the App name and click Next.
-
On Configure SAML, set Single sign-on URL to the ACS URL and Audience URI (SP Entity ID) to the Entity ID you copied in step 2, leaving Use this for Recipient URL and Destination URL checked. Leave Default RelayState empty, set Name ID format to
EmailAddressand Application username toEmail, and leave the remaining signature and certificate settings at their defaults.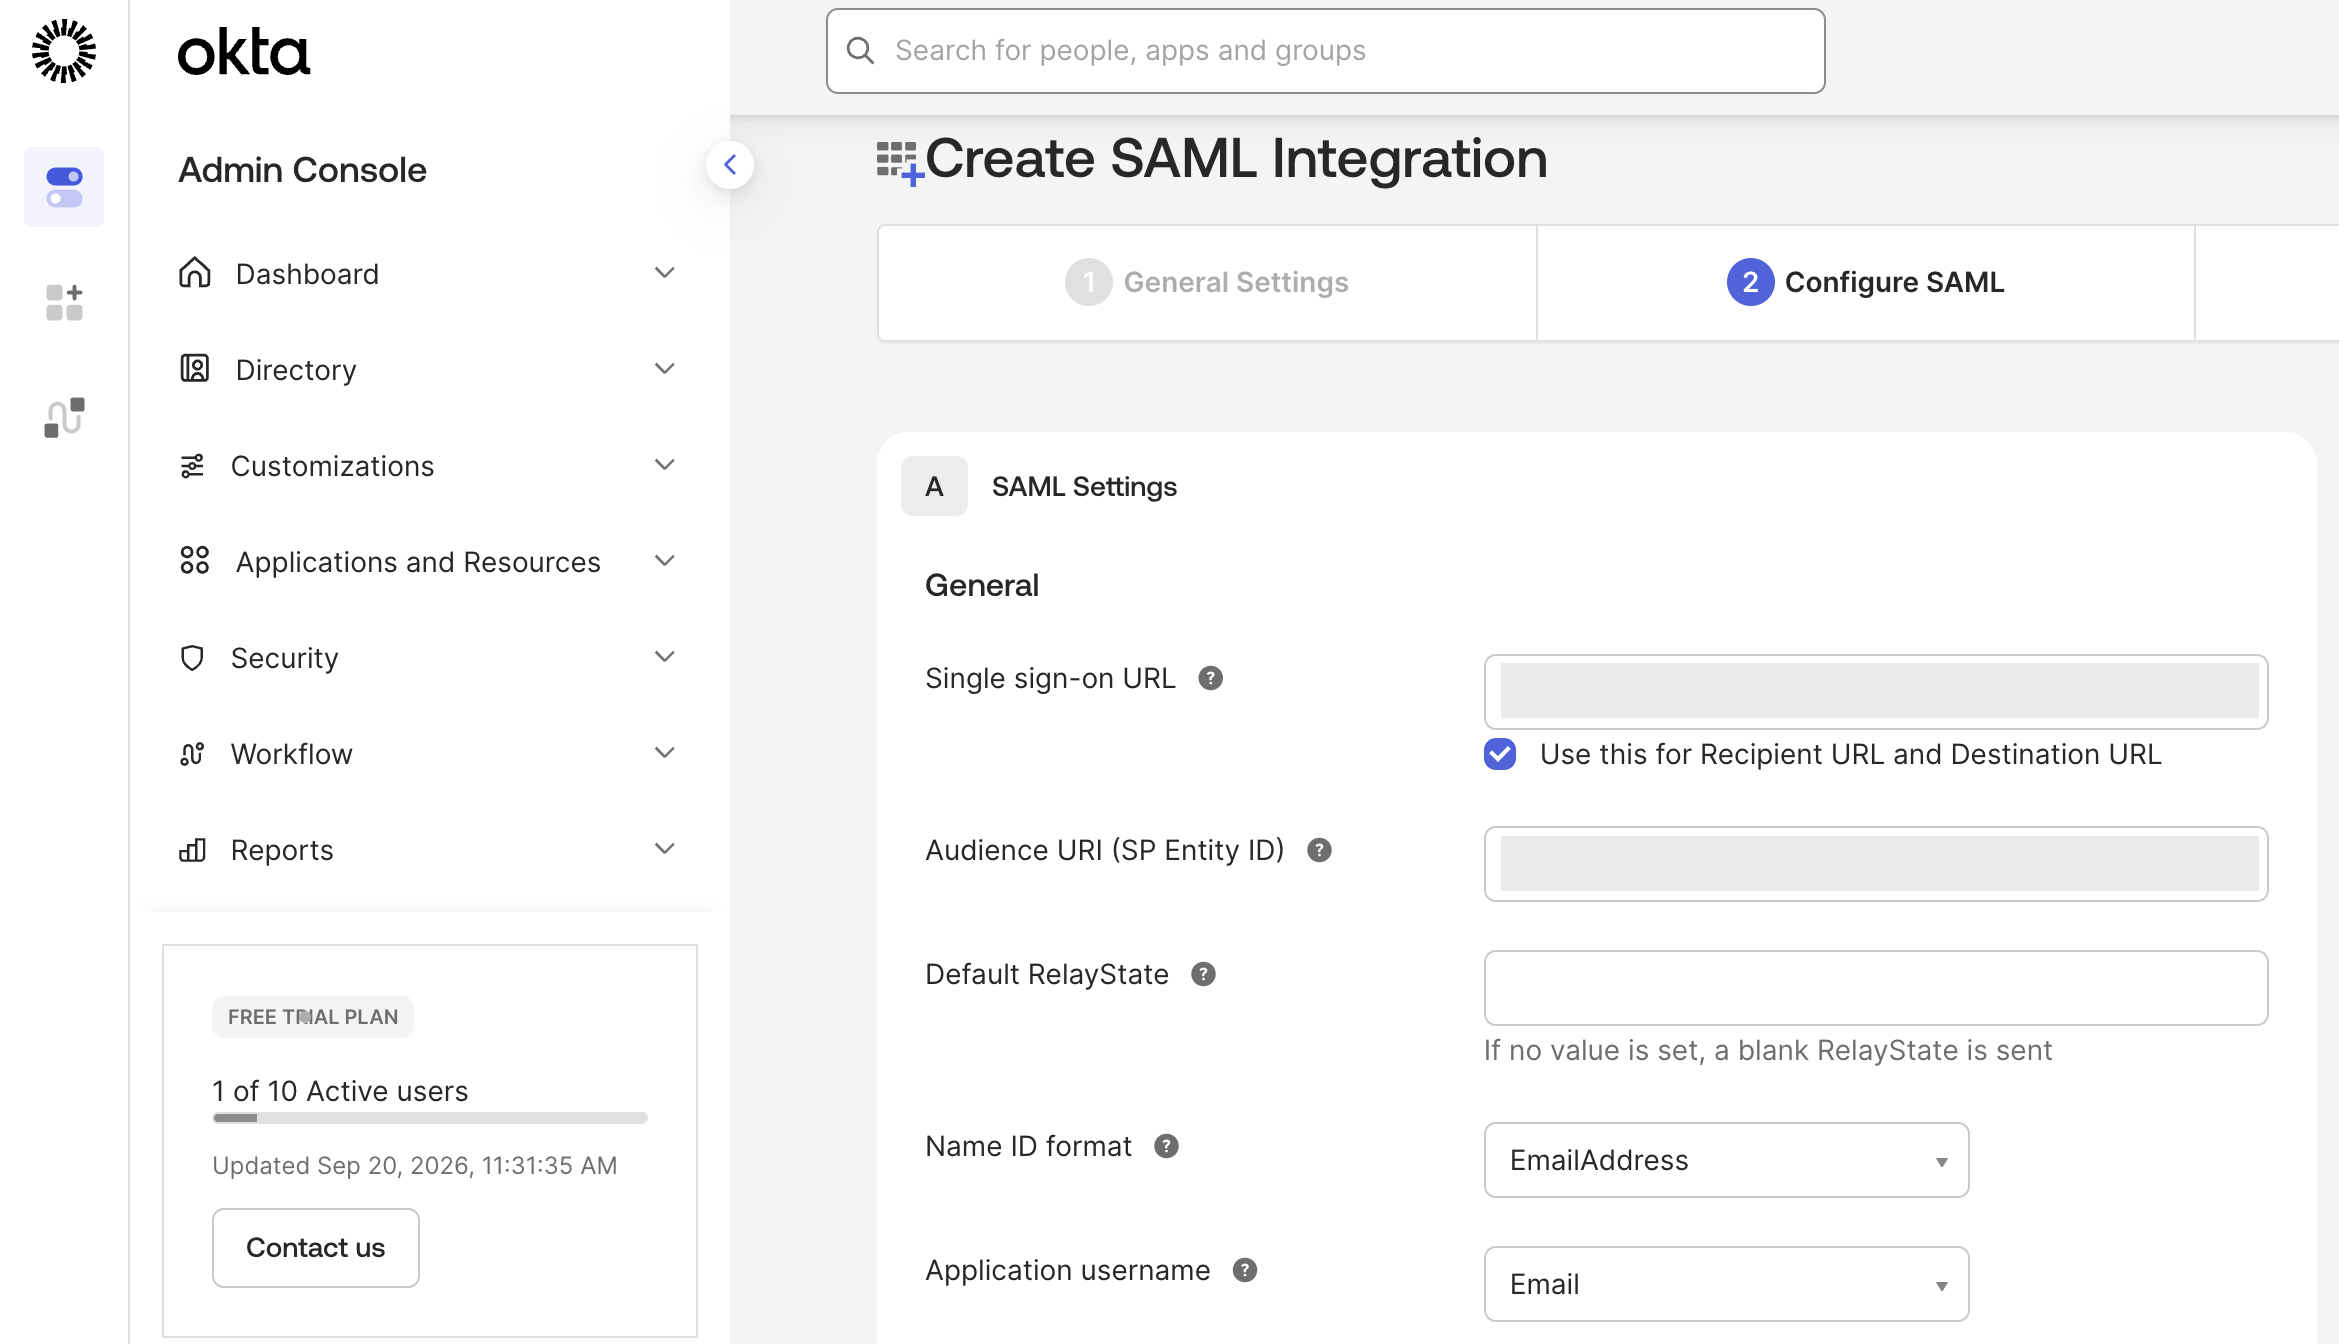
-
Still on Configure SAML, scroll to Attribute Statements and add
emailwith the valueuser.email,userFirstNamewith the valueuser.firstName, anduserLastNamewith the valueuser.lastName. Leave Name format asUnspecifiedfor all three.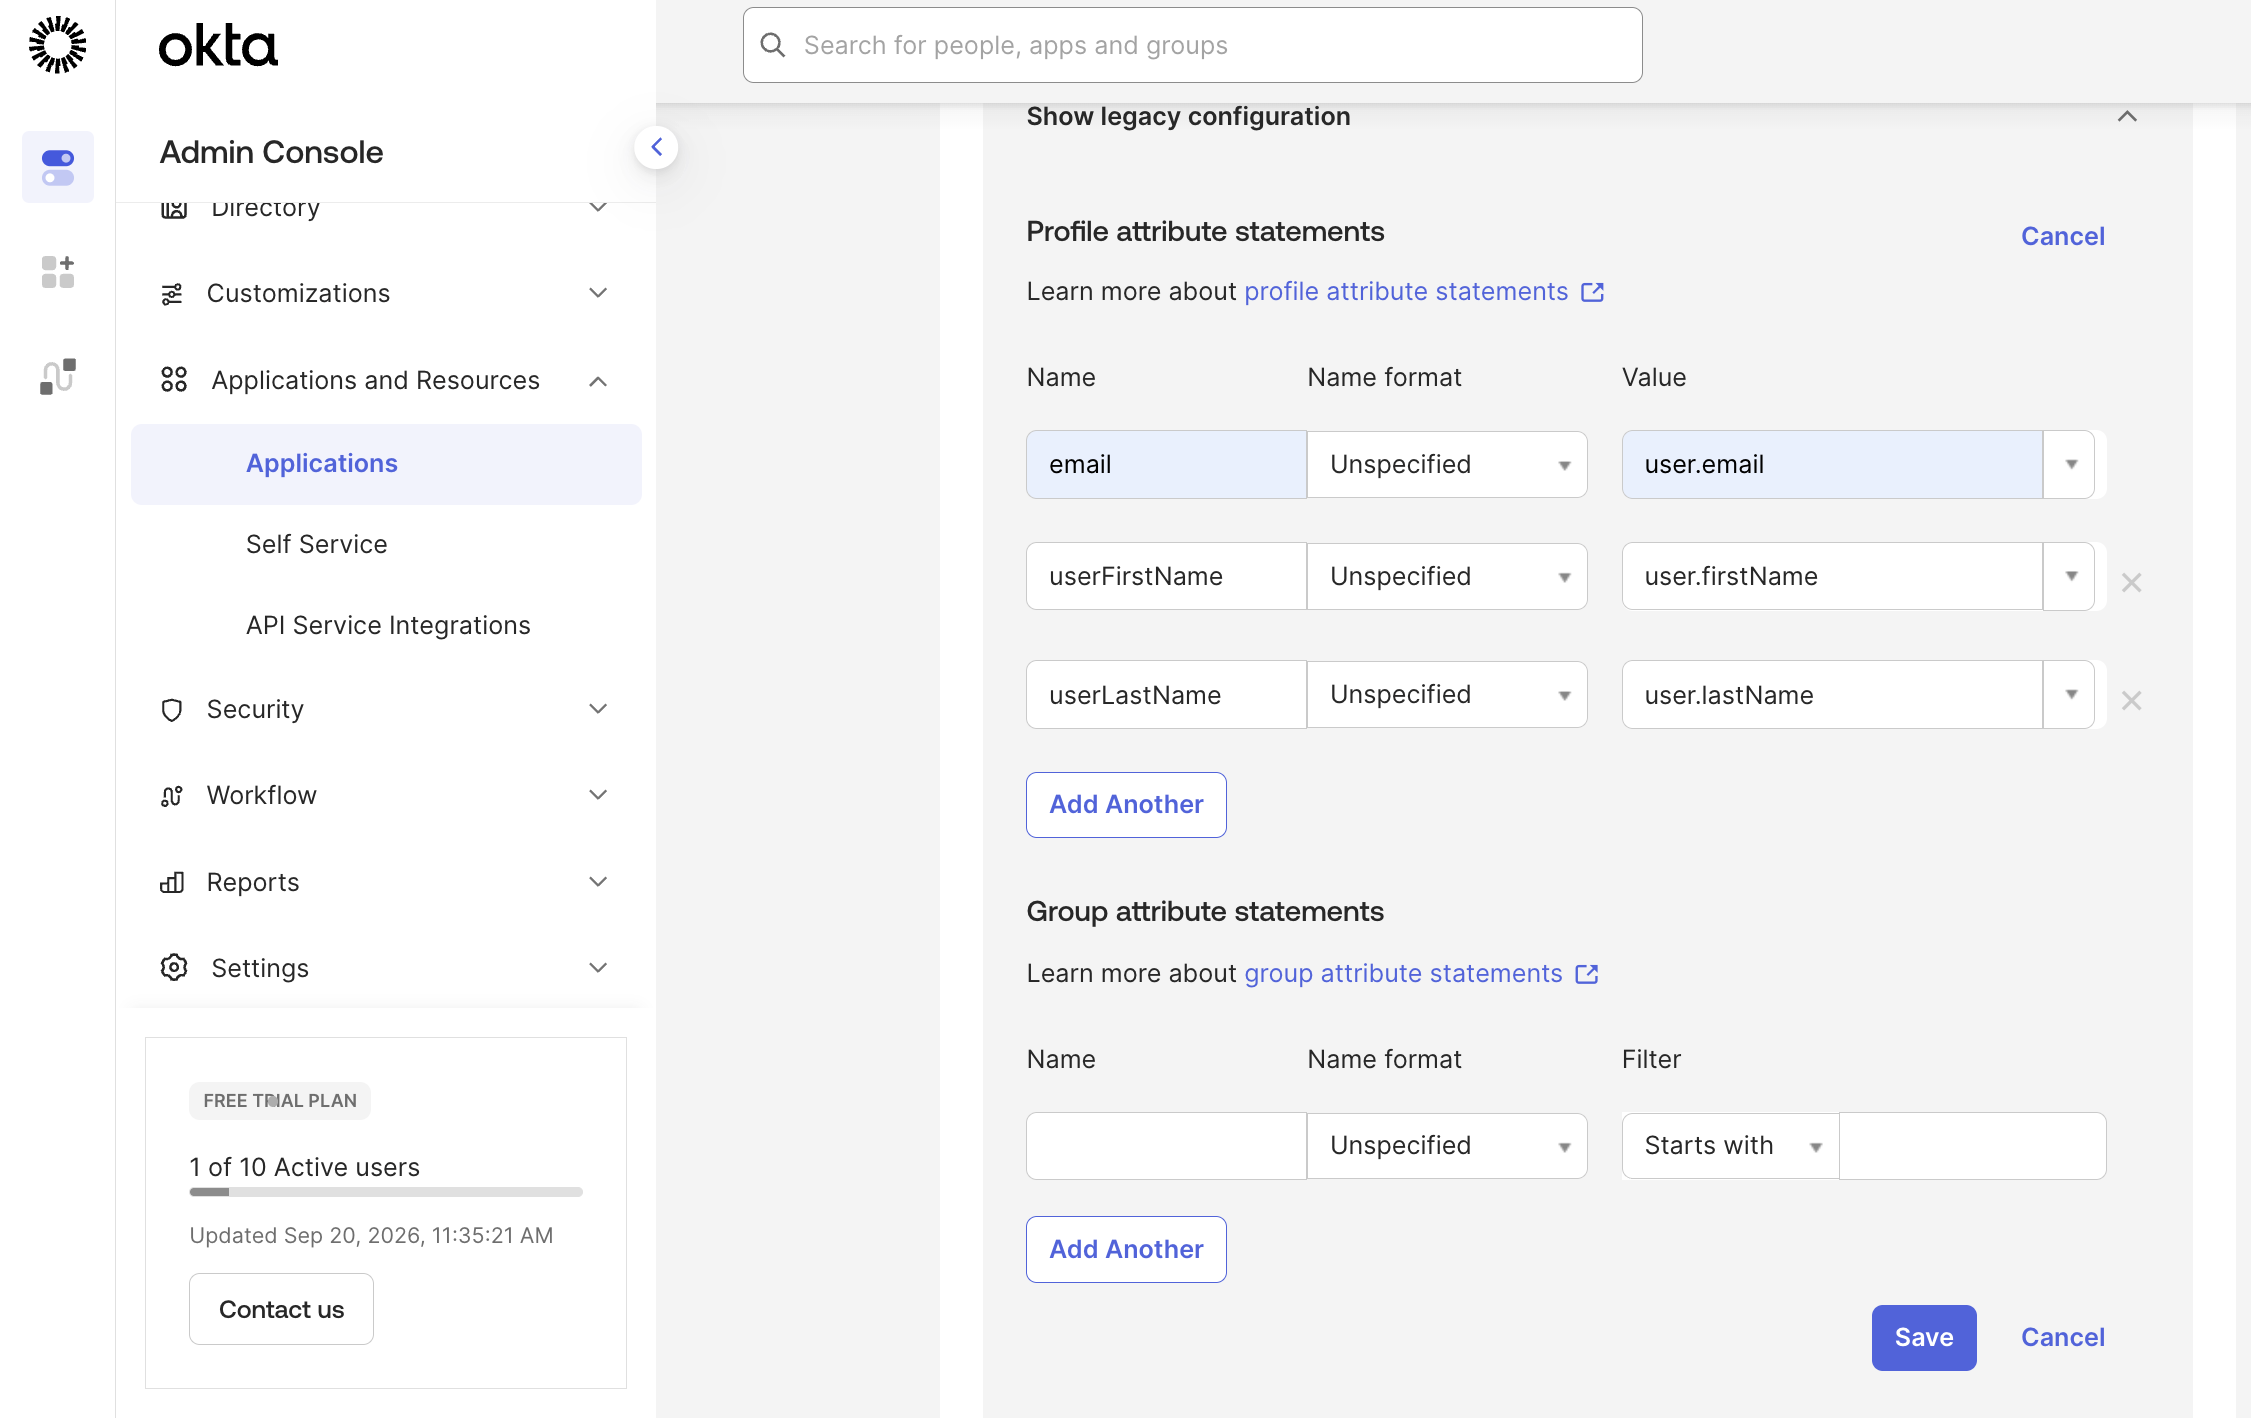
If the Attribute Statements section does not appear in the wizard, finish creating the app and add them afterwards under General > SAML Settings > Edit, or under Sign On > Attribute statements > Show legacy configuration.
-
Click Next, choose I'm an Okta customer adding an internal app and click Finish.
-
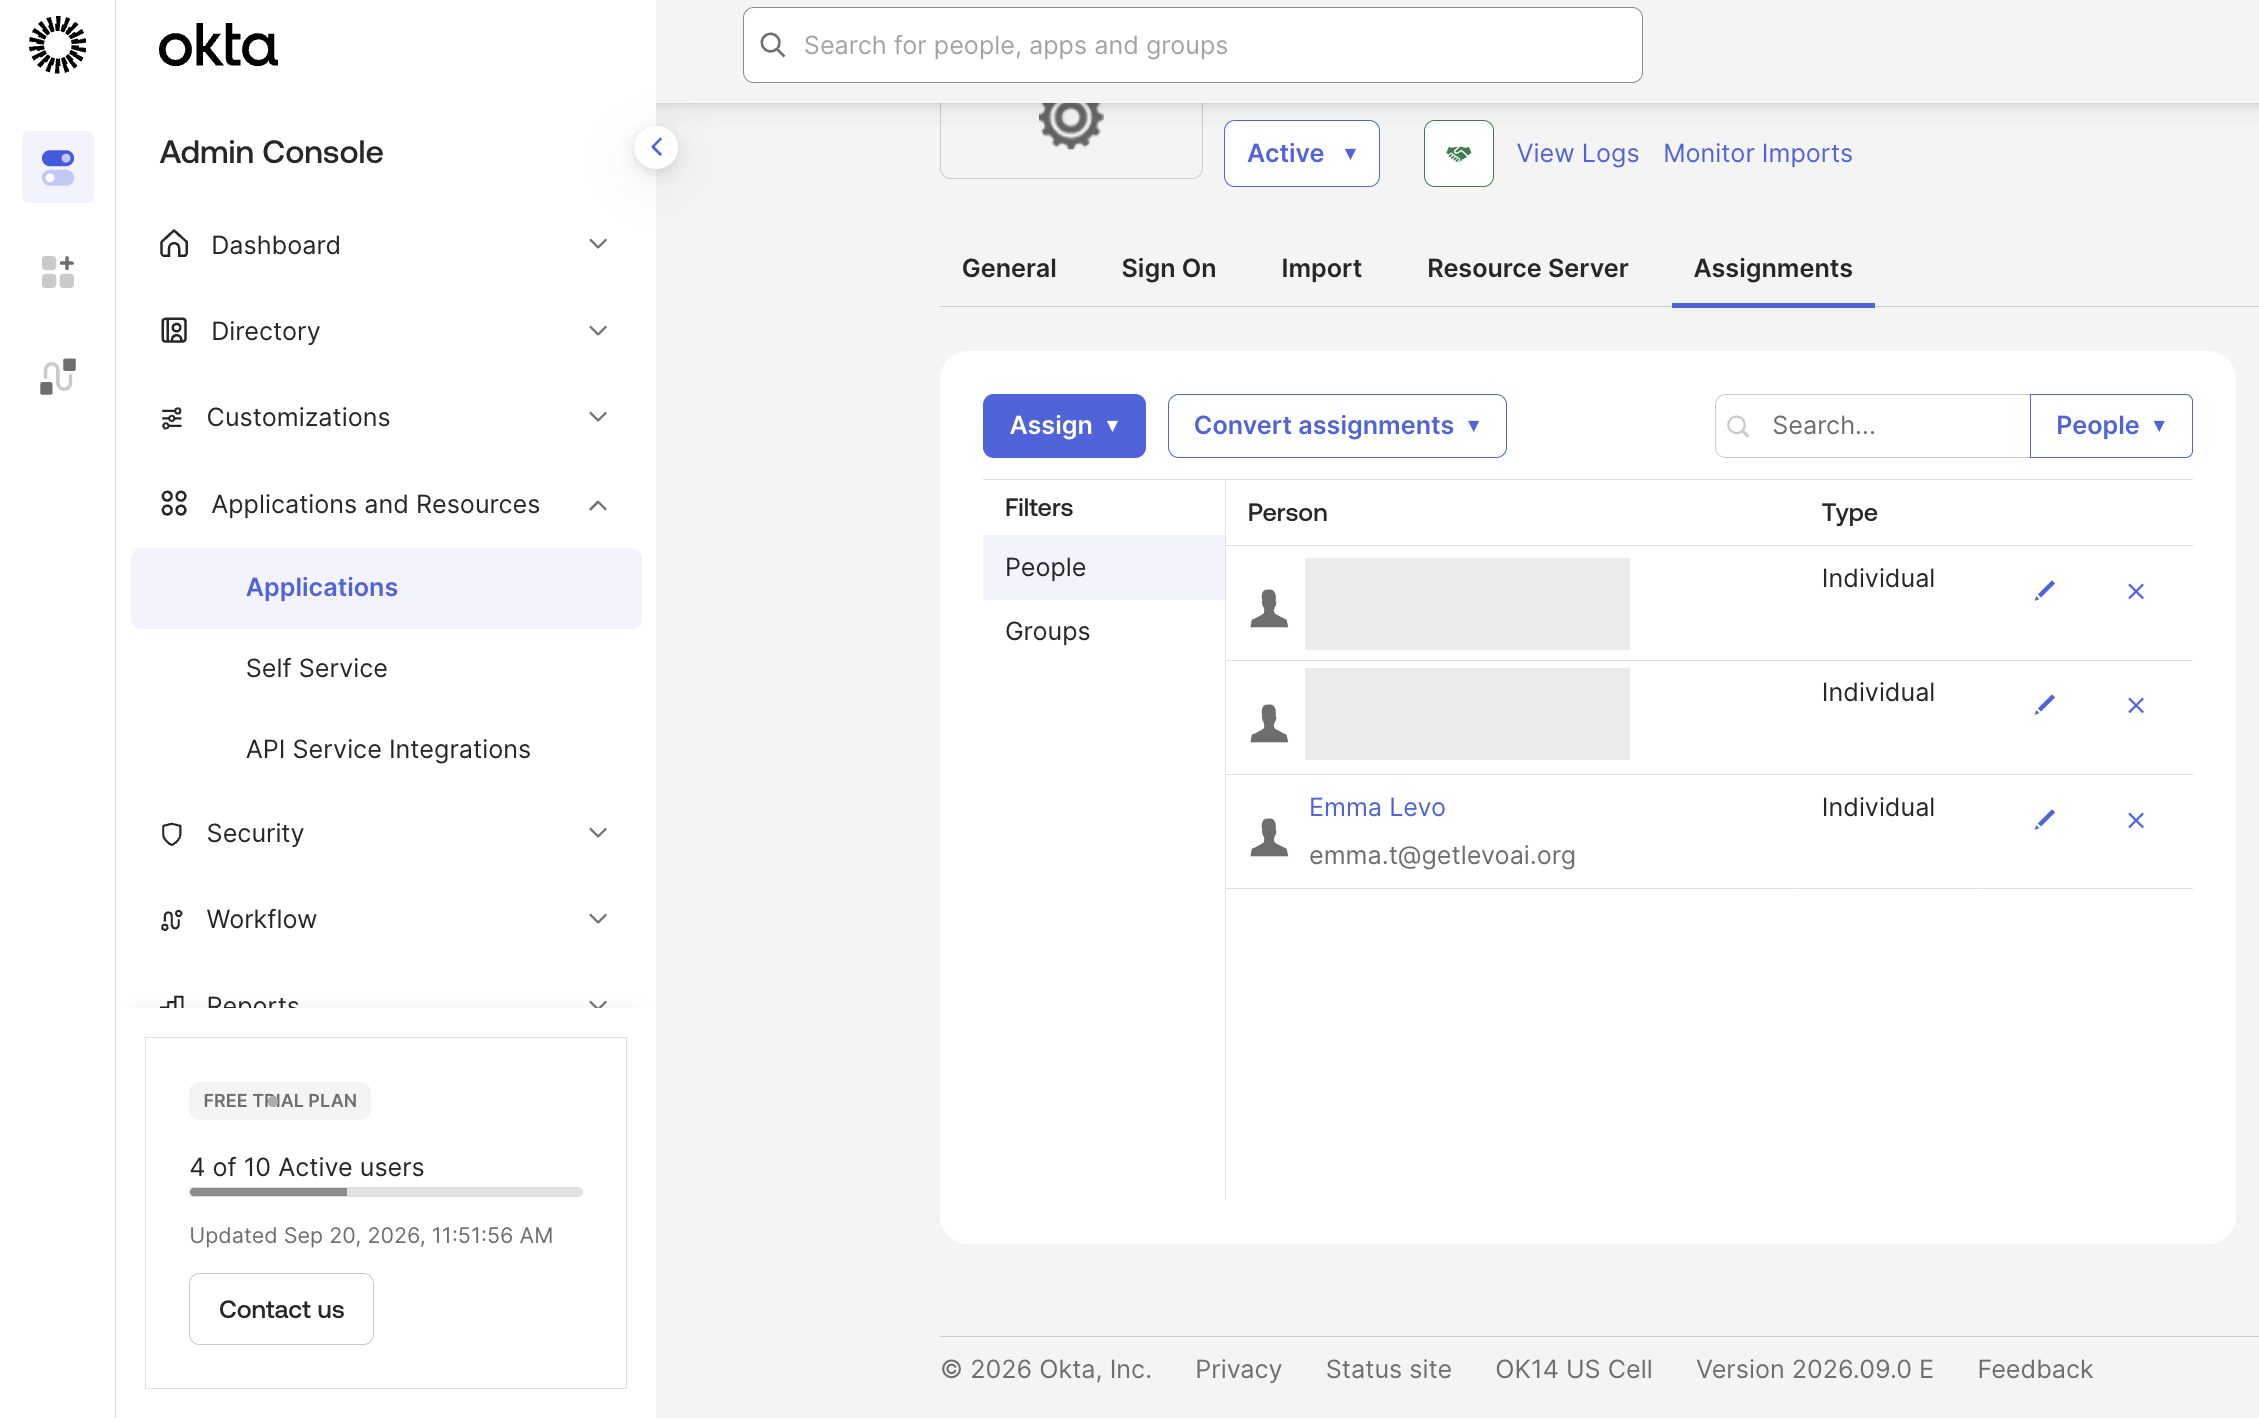
Under the Assignments tab, click Assign > Assign to People and assign the users who should be able to sign in to Levo.
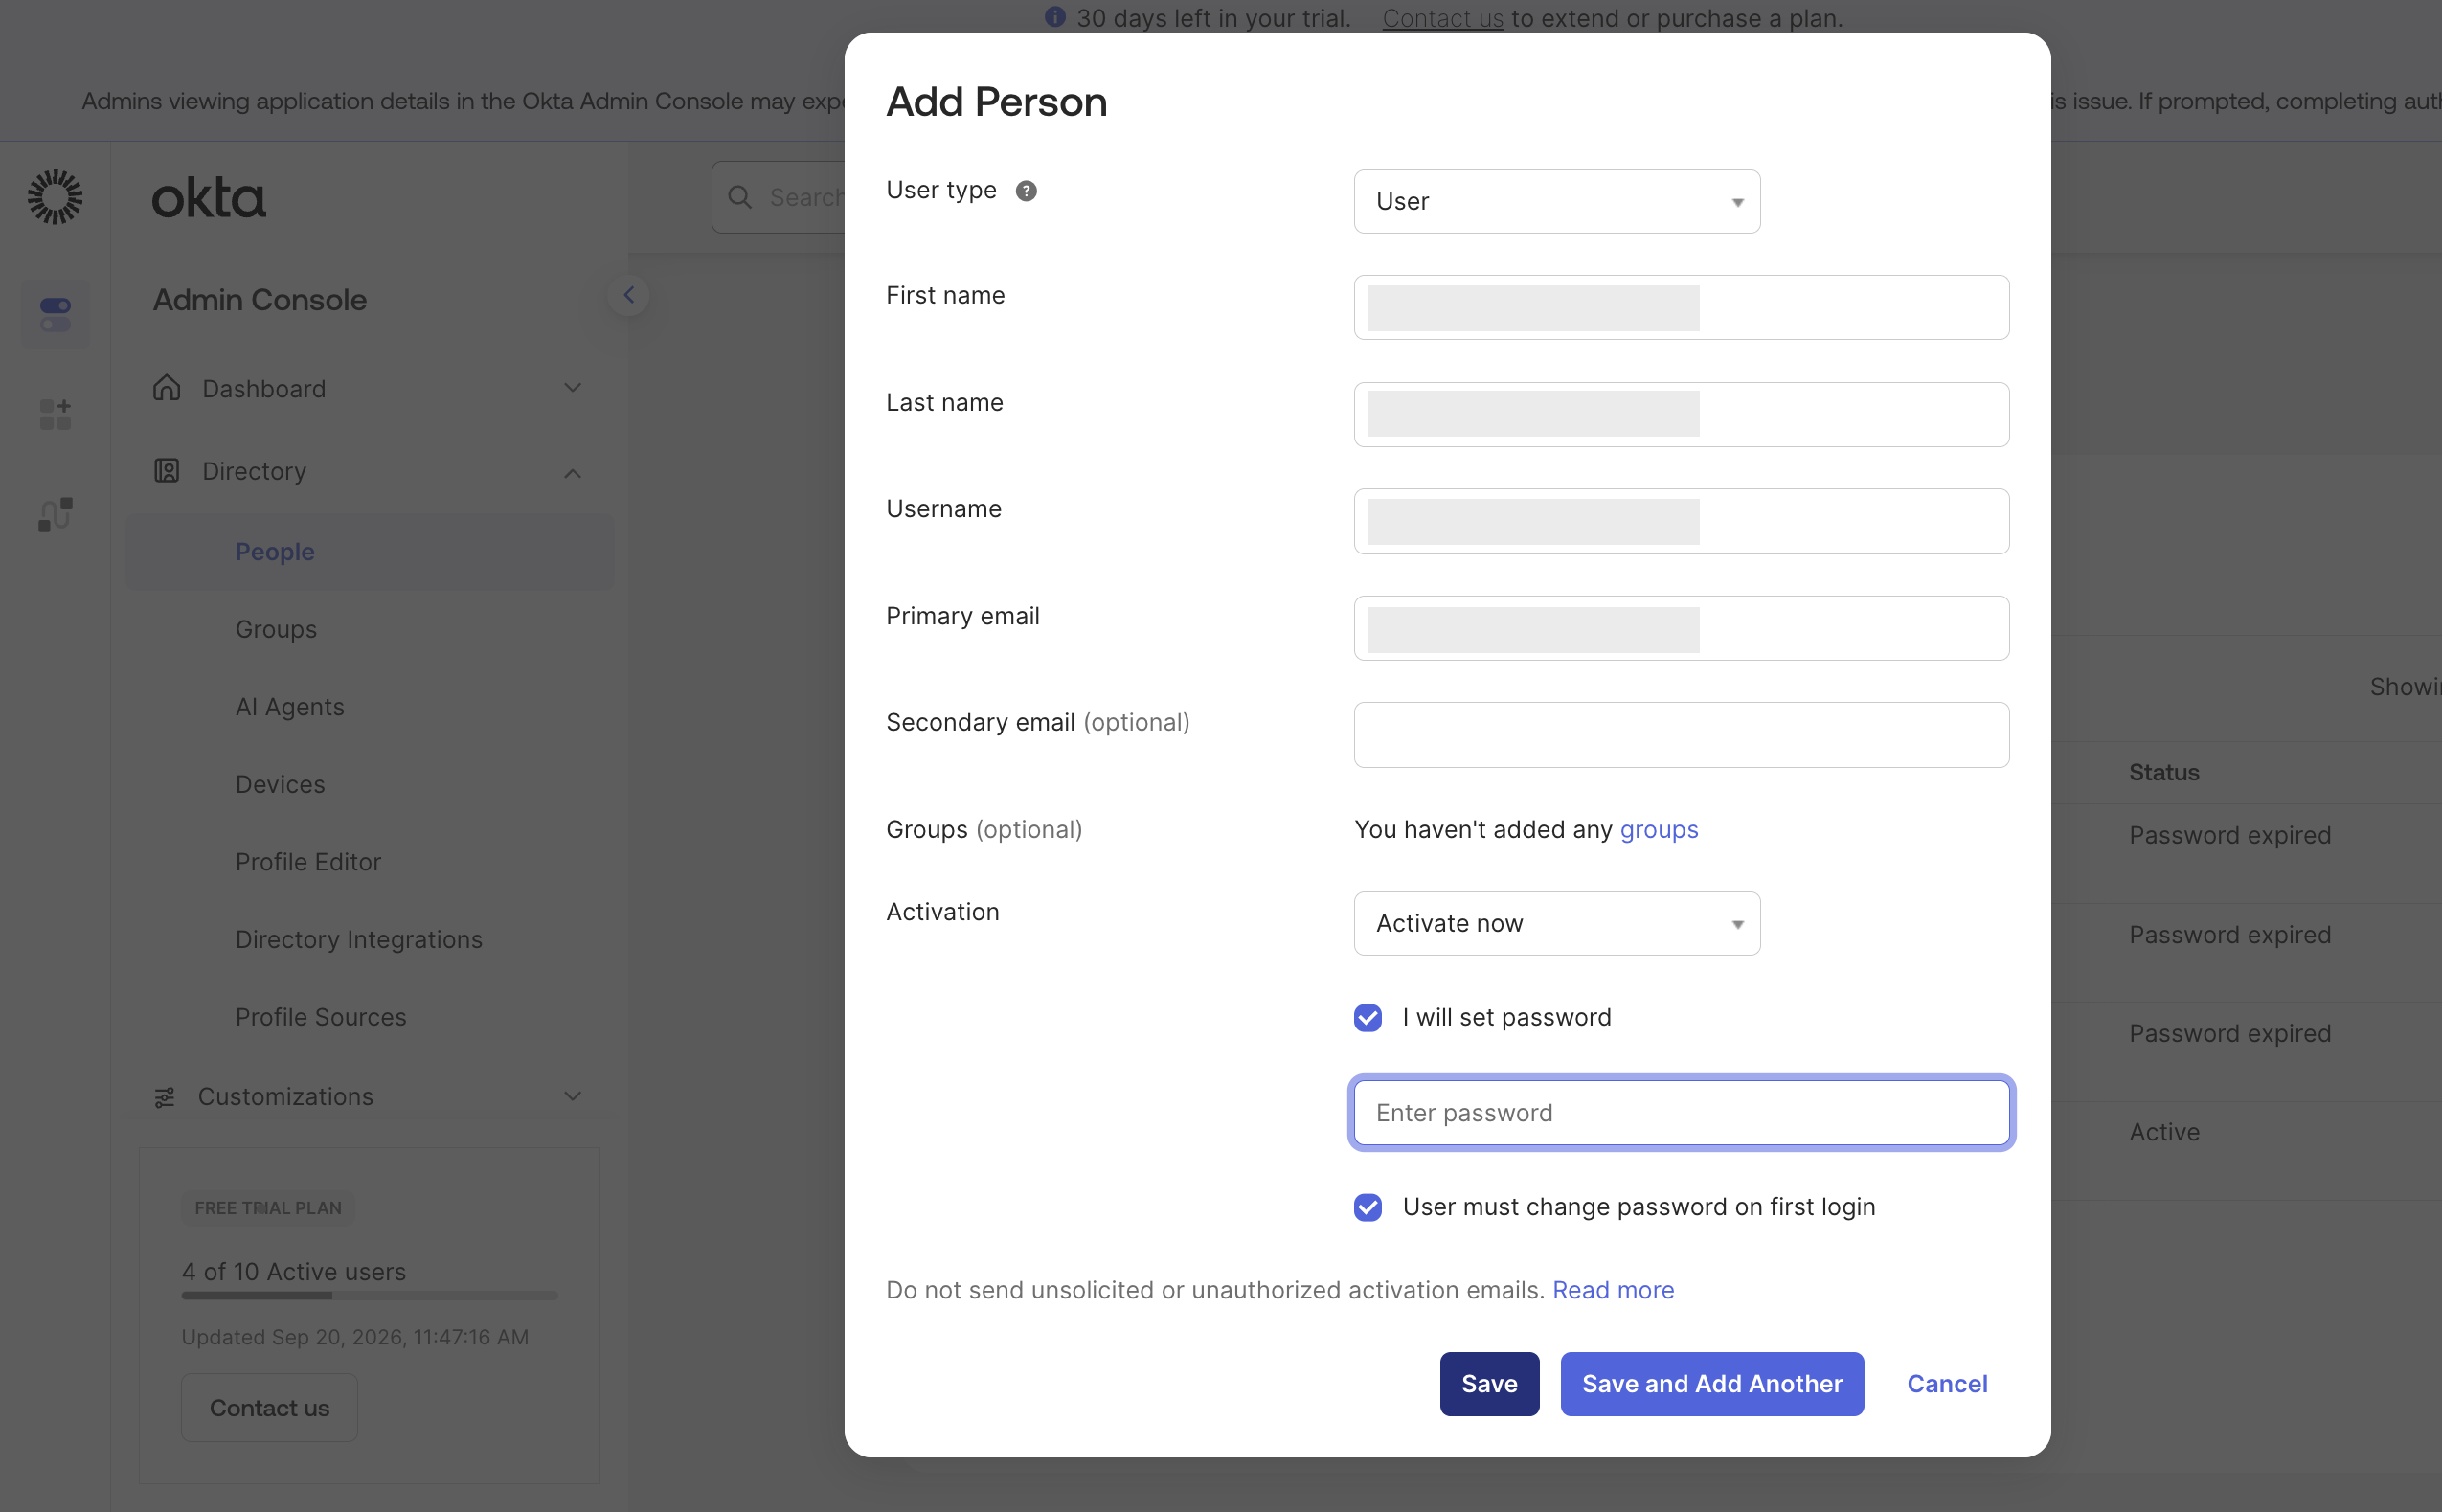
Only users that already exist in your Okta directory can be assigned. To add one, go to Directory > People > Add Person.
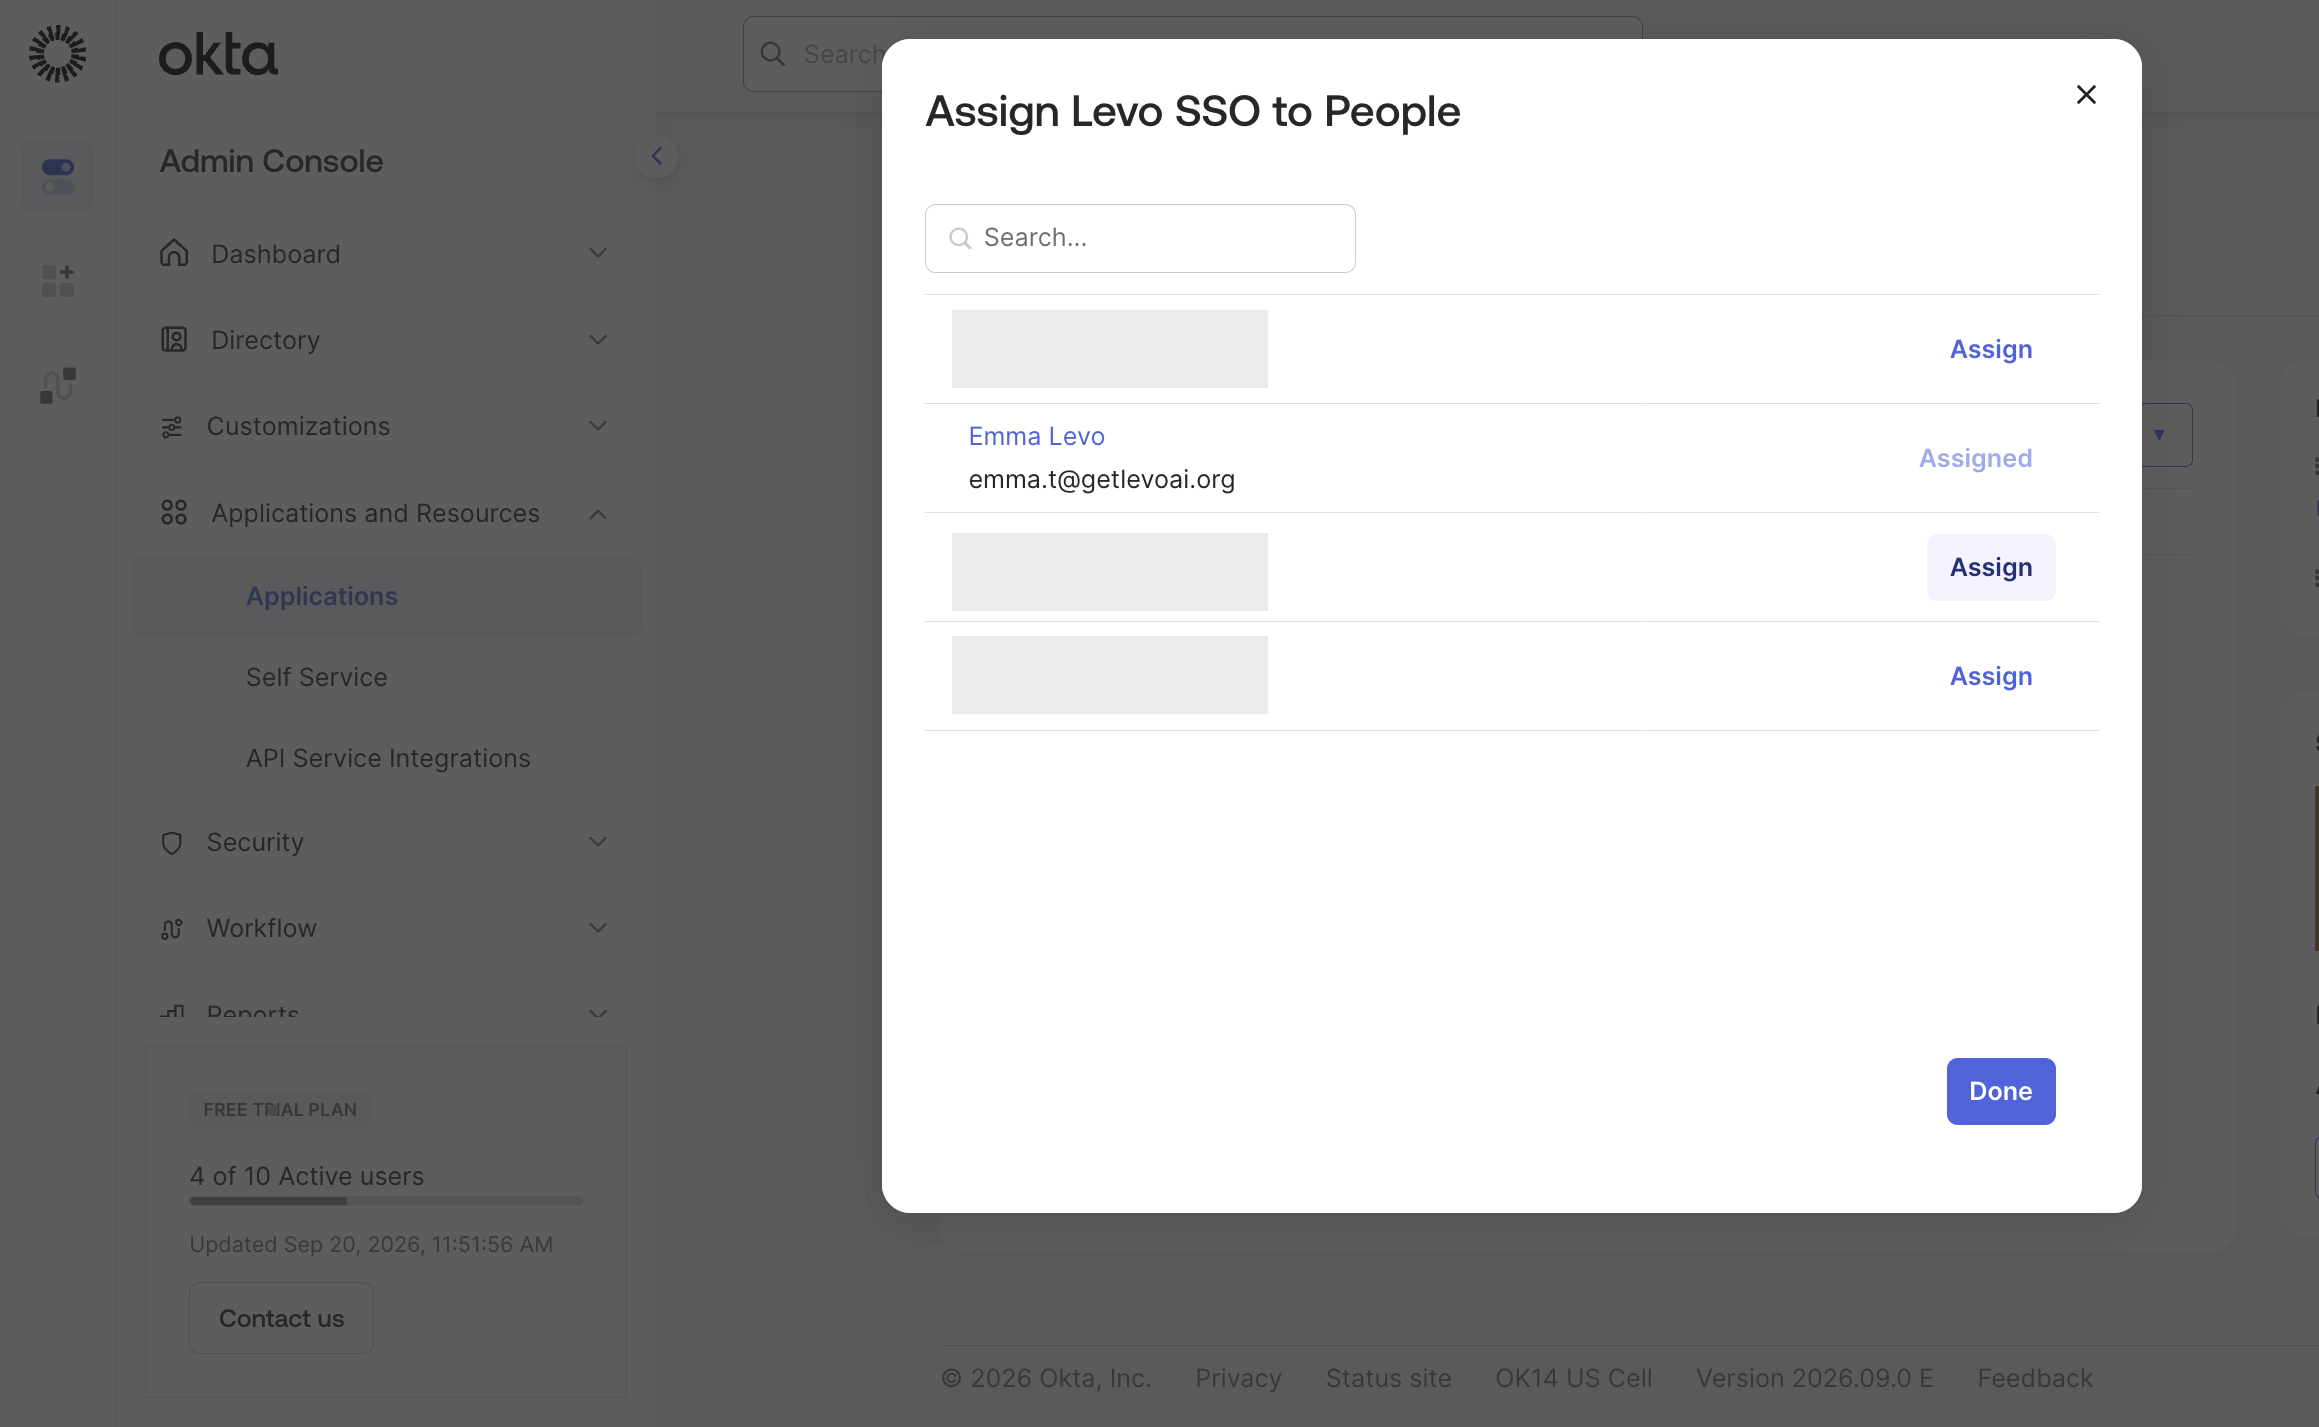
Users who are not assigned are blocked by Okta before Levo is ever reached.
-
(Optional) Edit the logo of the application and replace it with the Levo logo so you can identify it in your Okta dashboard.
-
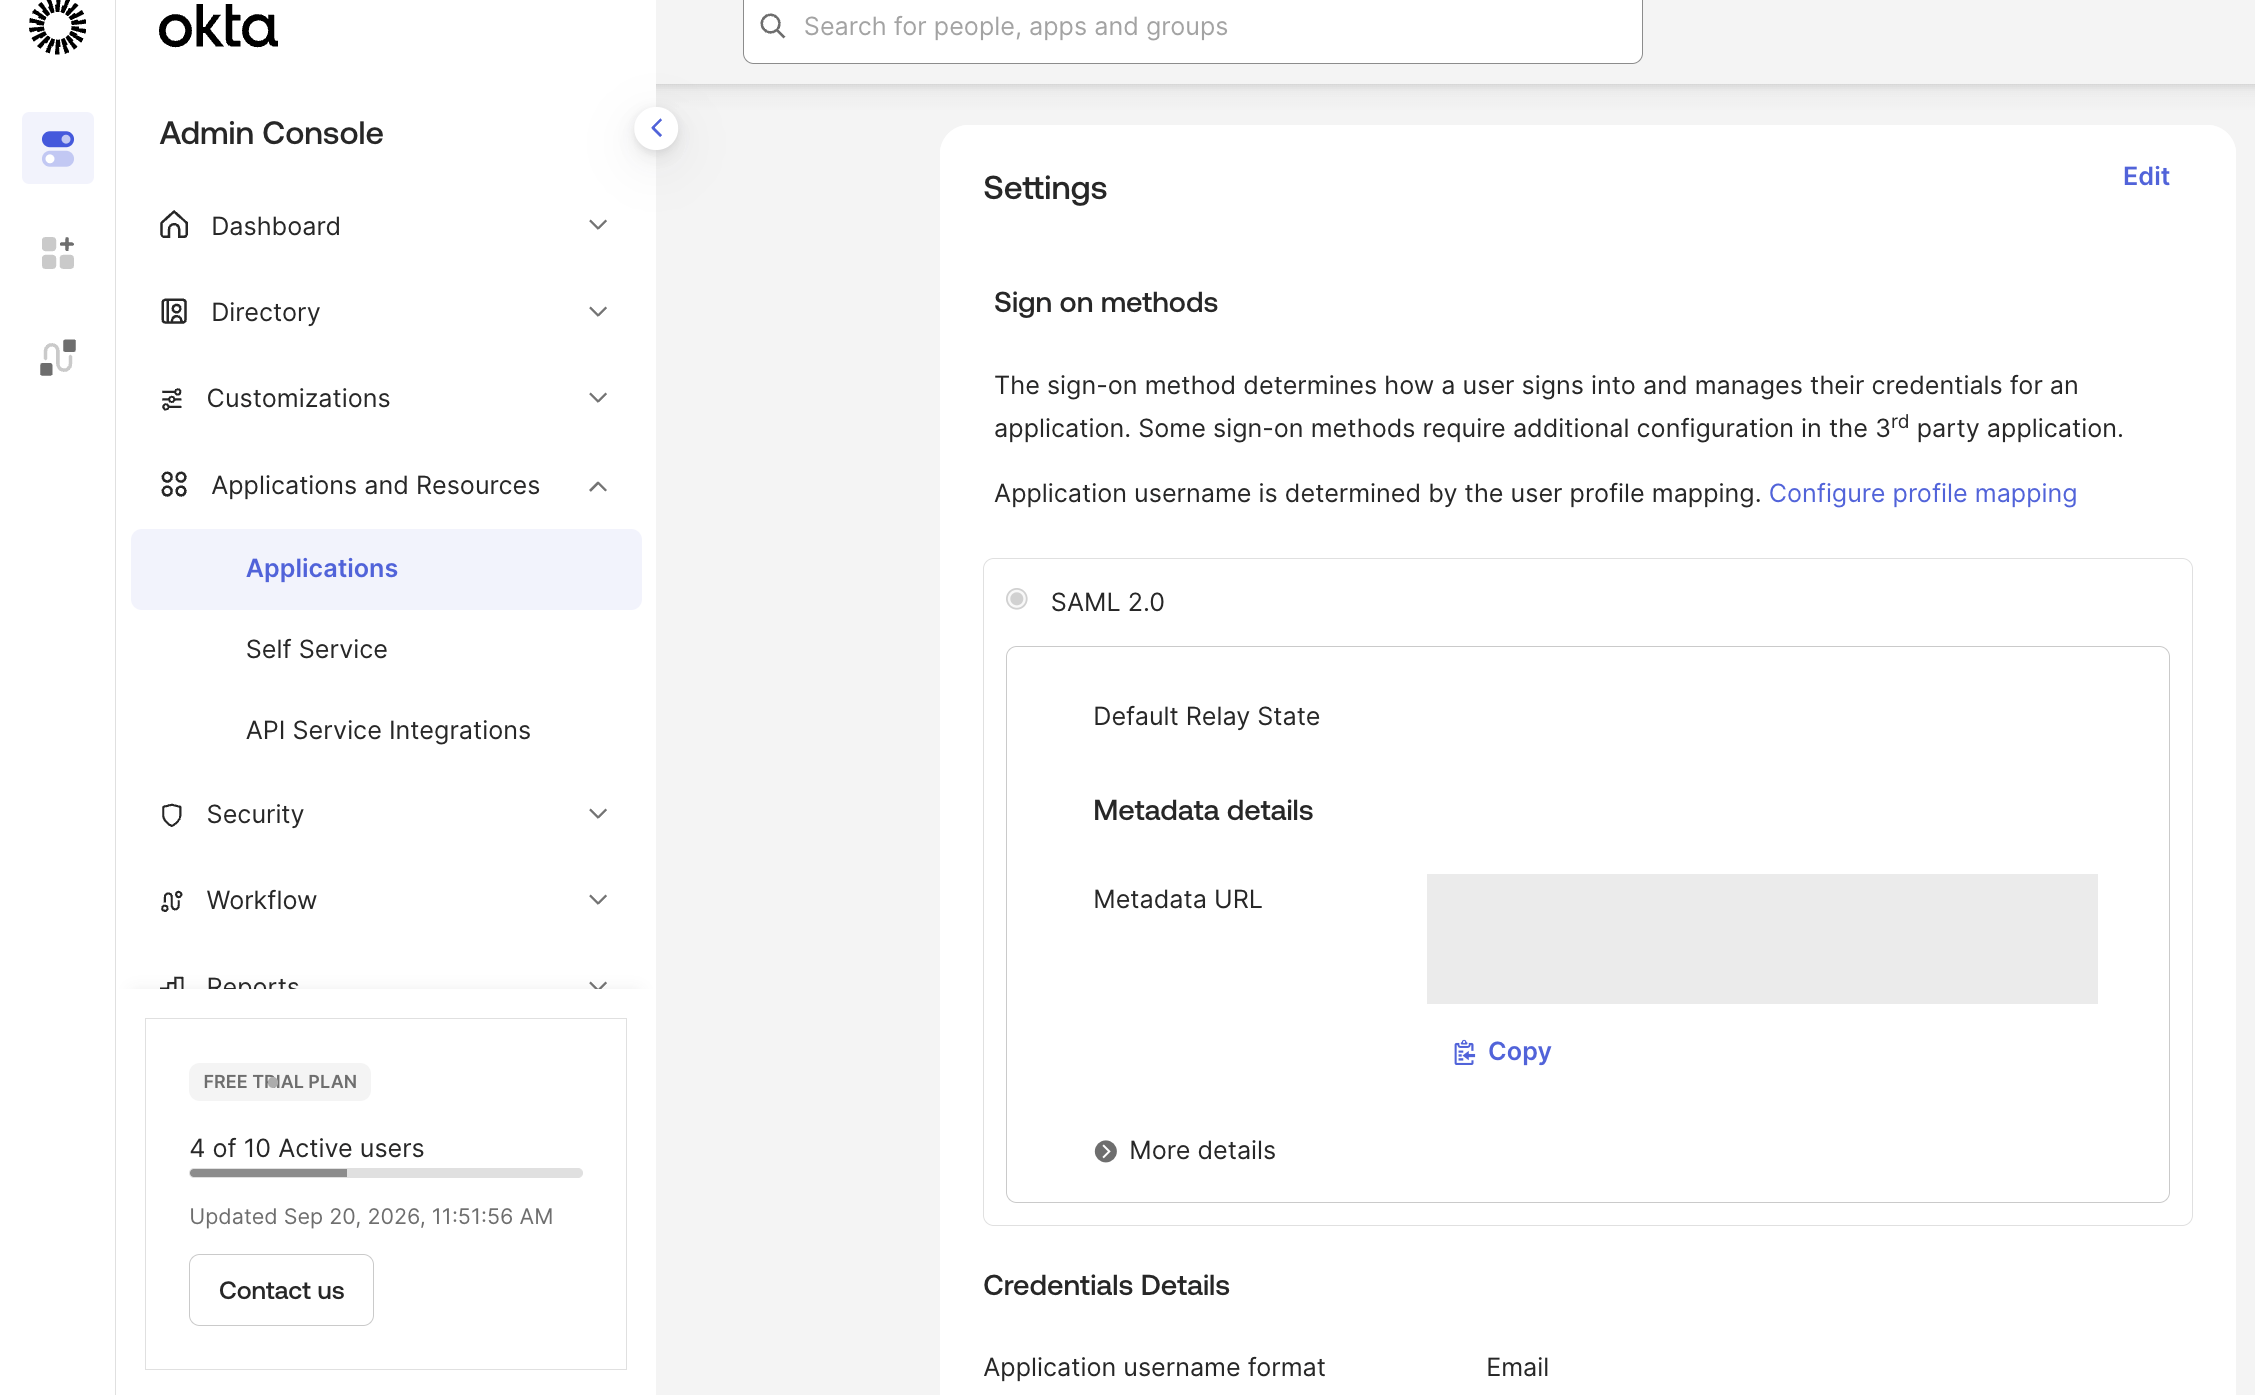
Go to Sign On > SAML 2.0 > Metadata details and copy the Metadata URL.
-
Go back to Levo and fill in the details to connect your Okta app:
- Connection Name: An identifier for the connection.
- Okta Metadata URL: The Metadata URL you copied from Okta.
After that, users on that email domain can sign in to Levo using Okta.
Add a Levo tile to the Okta dashboard
Levo starts the SAML exchange itself, so sign-in must begin at Levo. Clicking the SAML app's tile on the Okta dashboard starts it from Okta instead, which Levo does not accept — it fails with "Unexpected error when authenticating with identity provider".
To give users a working tile, add a Bookmark App that points at Levo:
- Go to Applications > Applications > Browse App Catalog and search for
Bookmark App, then click Add integration. - Set Application label to
Levoand URL tohttps://app.levo.ai.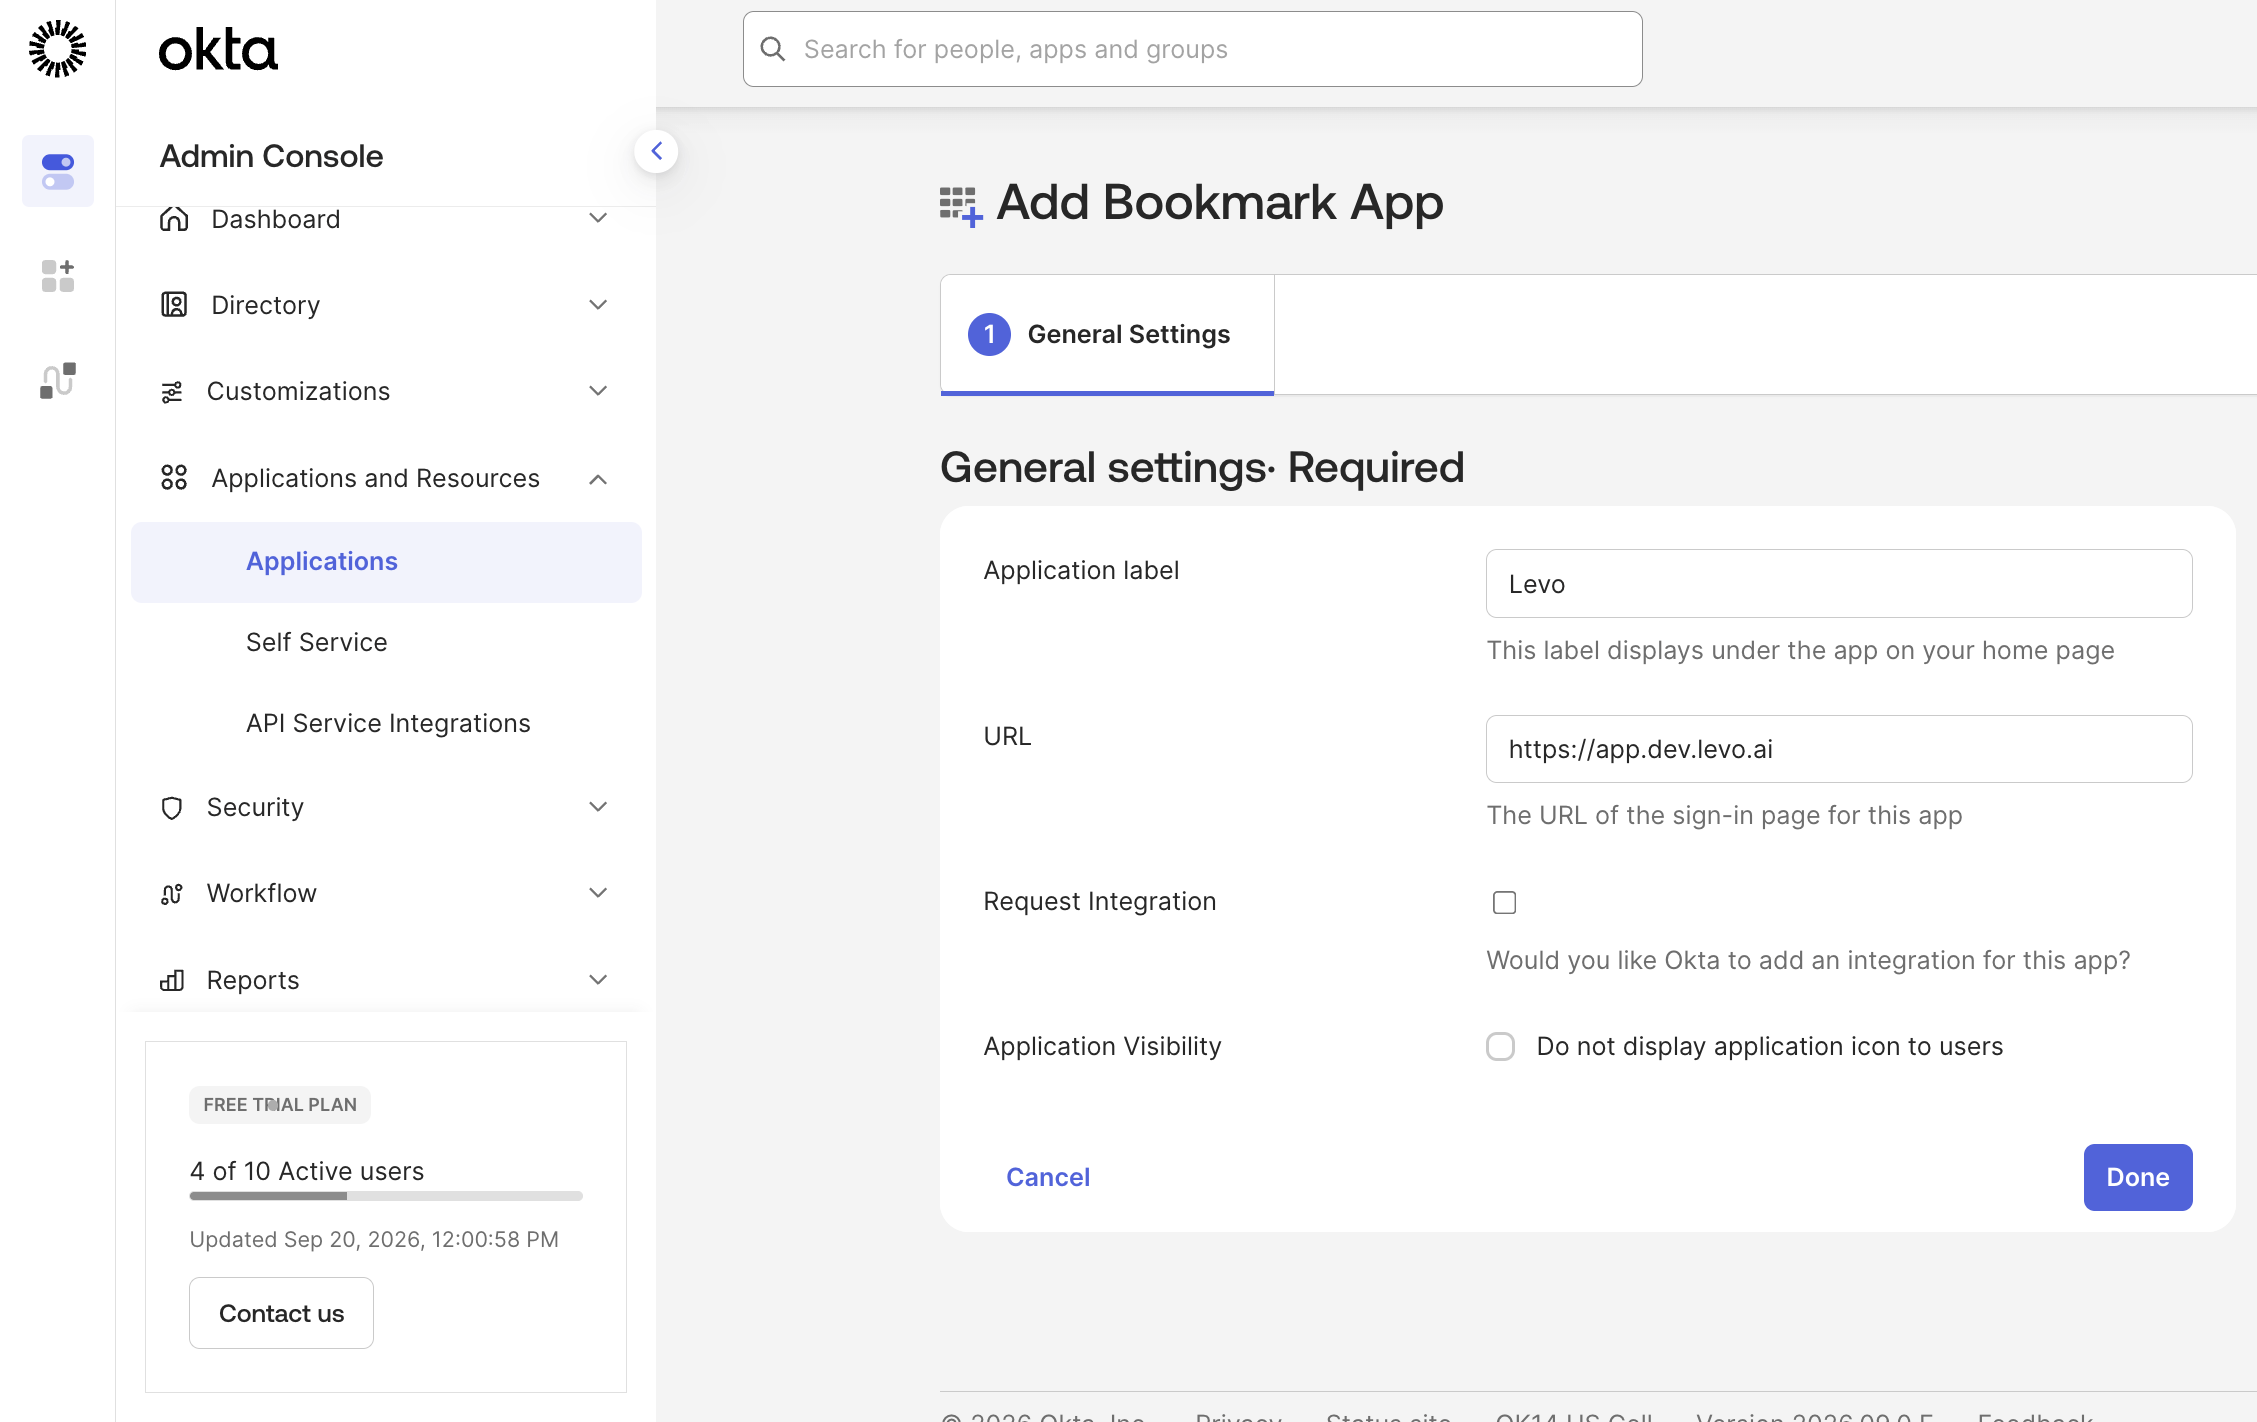
- Click Done, then open the Assignments tab and assign the same users.
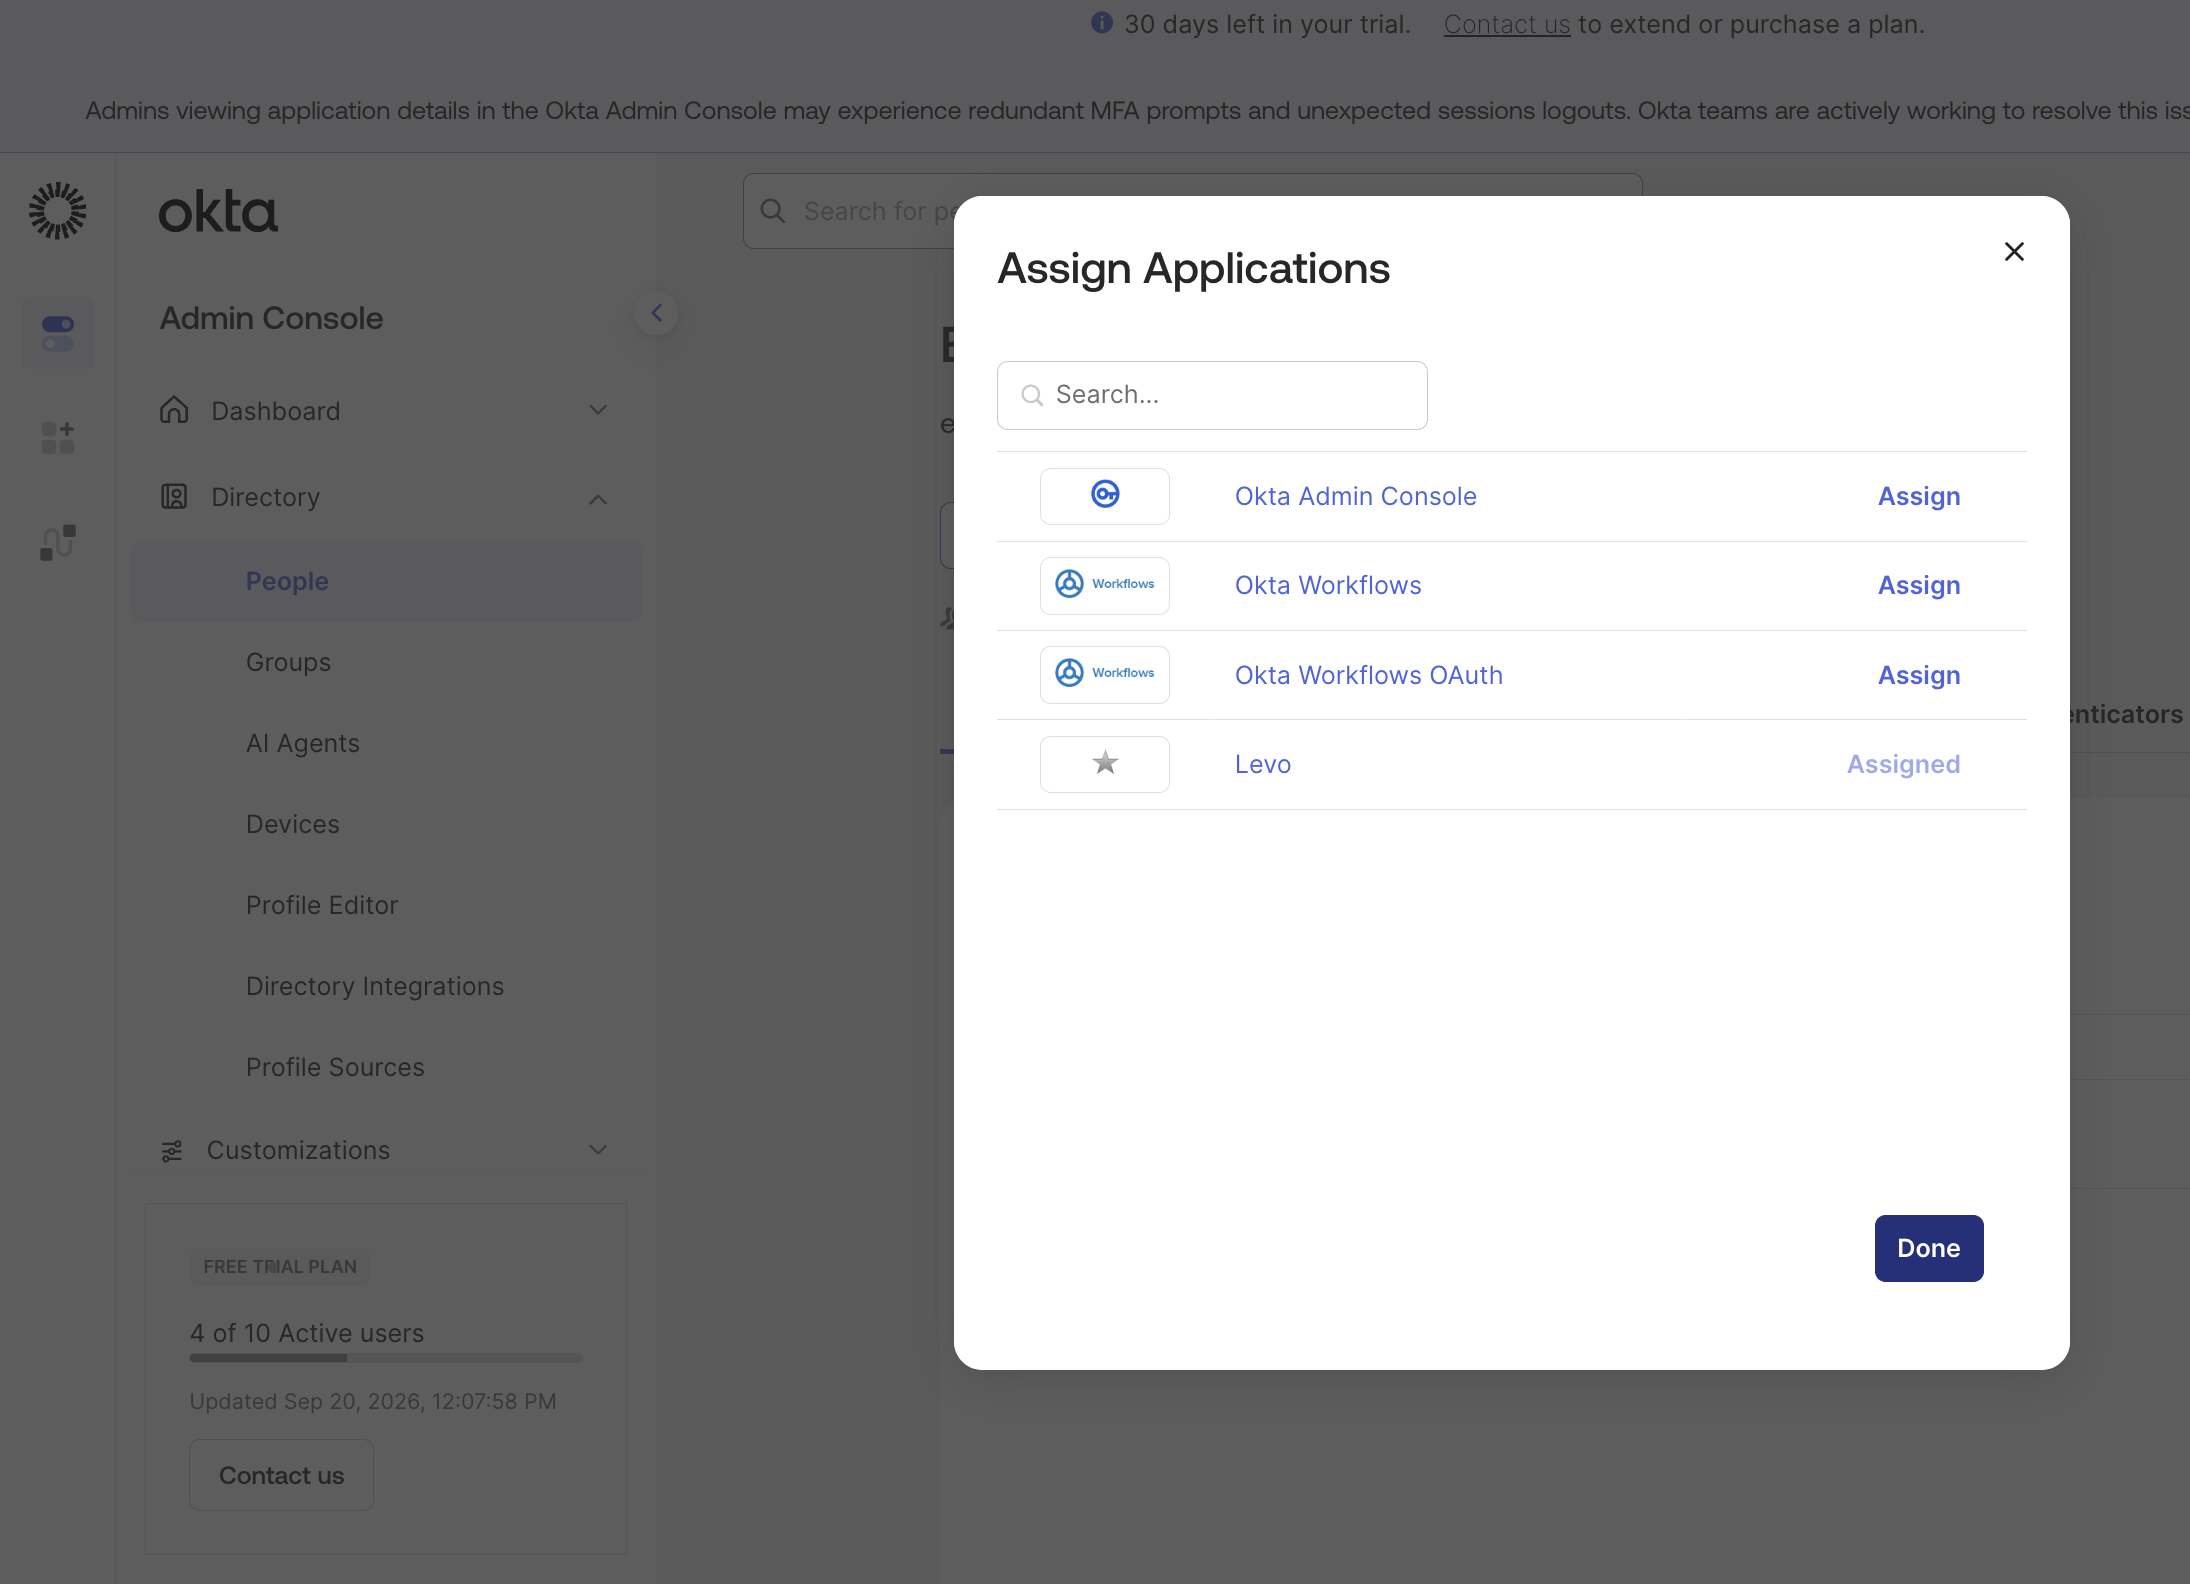
- (Recommended) In the SAML app's General settings, enable Do not display application icon to users so people are not offered the tile that cannot work.
Clicking the bookmark tile opens Levo, which then redirects to Okta and signs the user straight in.
Signing in
- Go to
https://app.levo.aiand enter your work email address. Levo recognises the domain and redirects you to Okta. - Or click the Levo bookmark tile on your Okta dashboard.
Users who already have a Levo account are asked once to confirm the link between it and their Okta identity. Subsequent logins go straight through.